
I’ve slowly (self-imposed limit of one bag per day) been building the 2018 Hogwarts Castle. It has been on my wish list for so long, so great to actually be building it. Read on to see the progress as I make my way through the second of the instruction manuals…
This is part 2 of a series of posts, reviewing the so far excellent Hogwarts Castle set from 2018. This was the first time LEGO released a direct-to-consumer (D2C) Harry Potter themed set. Luckily we’ve seen many since then.
To see the other parts, click here:
- Hogwarts Castle – Part 1
- Hogwarts Castle – Part 2 (this post)
- Hogwarts Castle – Part 3 (coming soon)
- Hogwarts Castle – Part 4 (coming soon)
This post focuses on the second of the four instruction manuals (the clever reader may already have guessed the focus of the two next posts). The first one let us build the rock base that will hold the Great Hall, its forecourt and the Central Tower.
Here is what it looked like at the end of book 1. As seen, we have the little boathouse completed along with the winding stairs up the cliff. On the back (not visible obviously) we had the Chamber of Secrets as one of the other well know Hogwarts locations completed so far.
The build – Book 2
Book 2 got us started with the base of the castle walls.
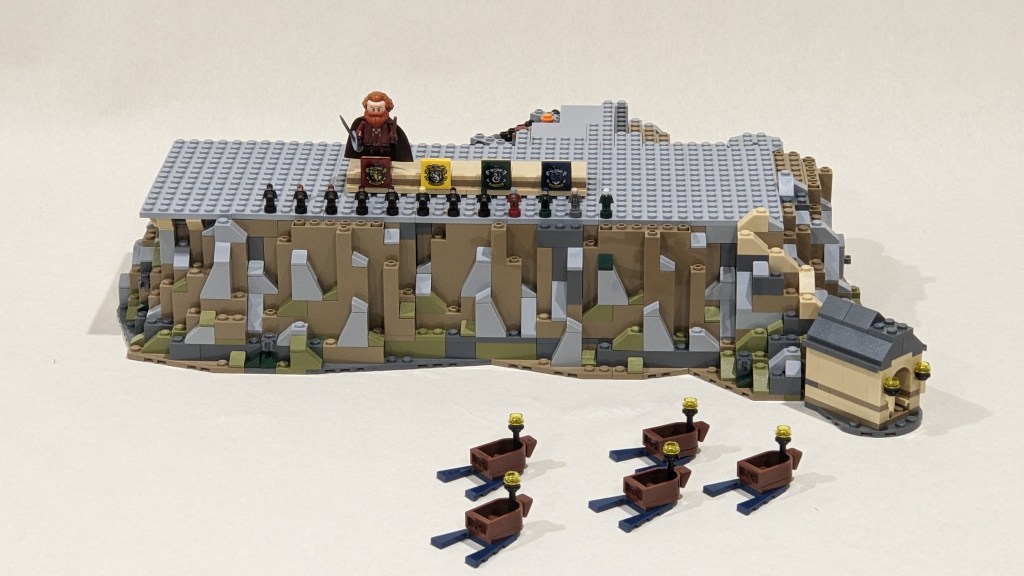
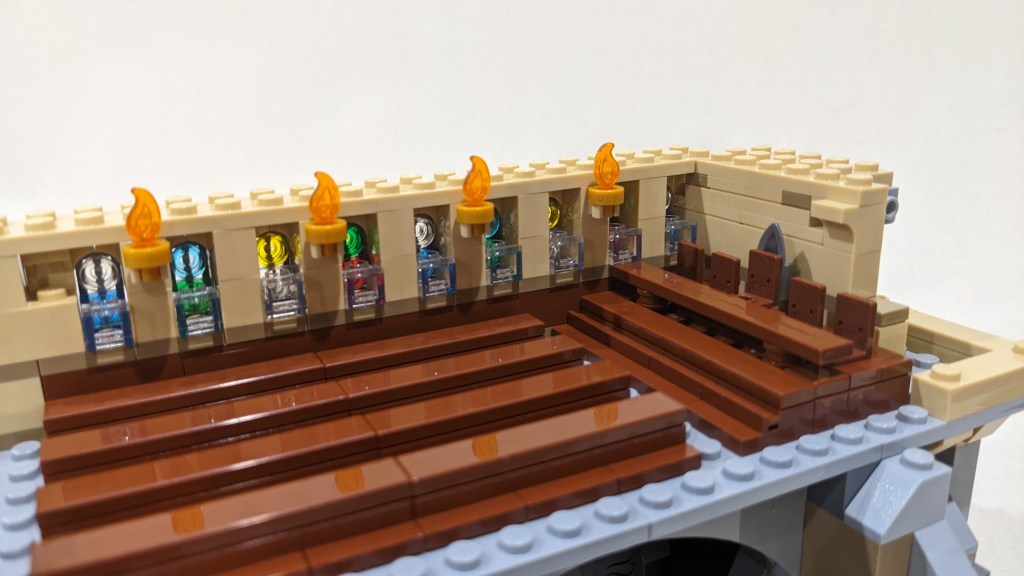
We then continued with the Great Hall, where we soon had both student tables and the teachers’ table completed (I love how each bag tries to give you something recognisable. In particular, I liked Dumbedore’s chair in the photo below – simple but effective!

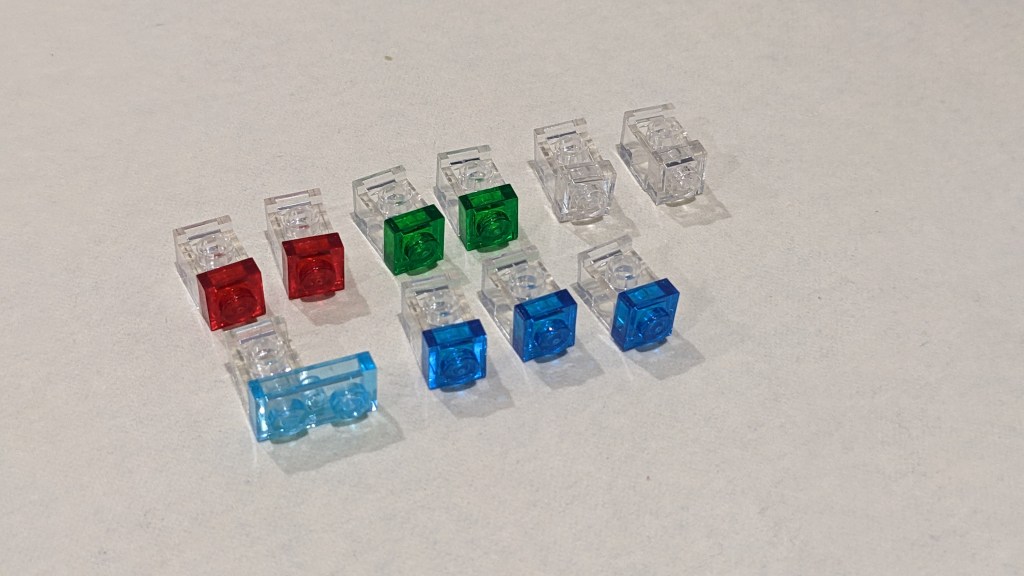
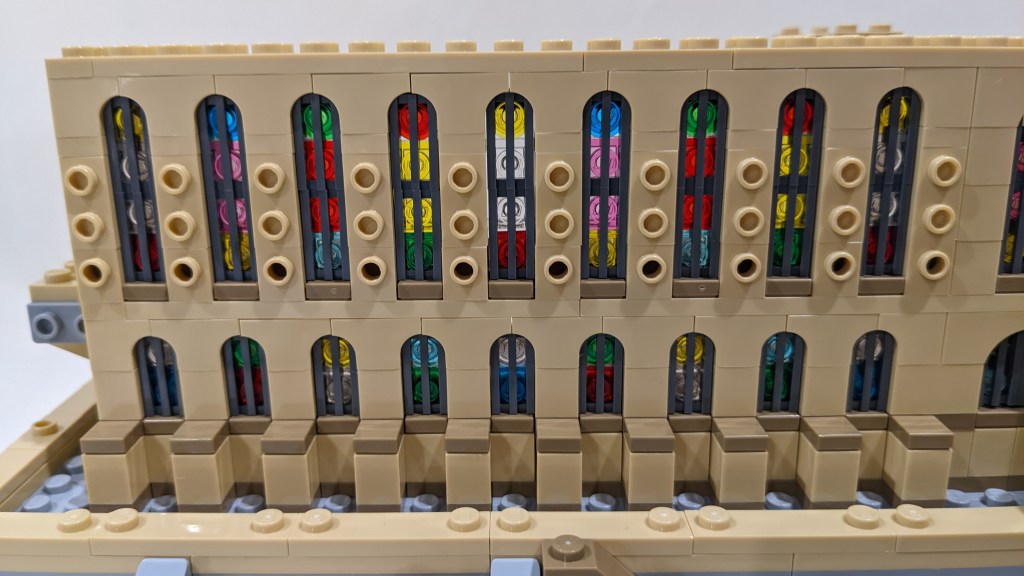
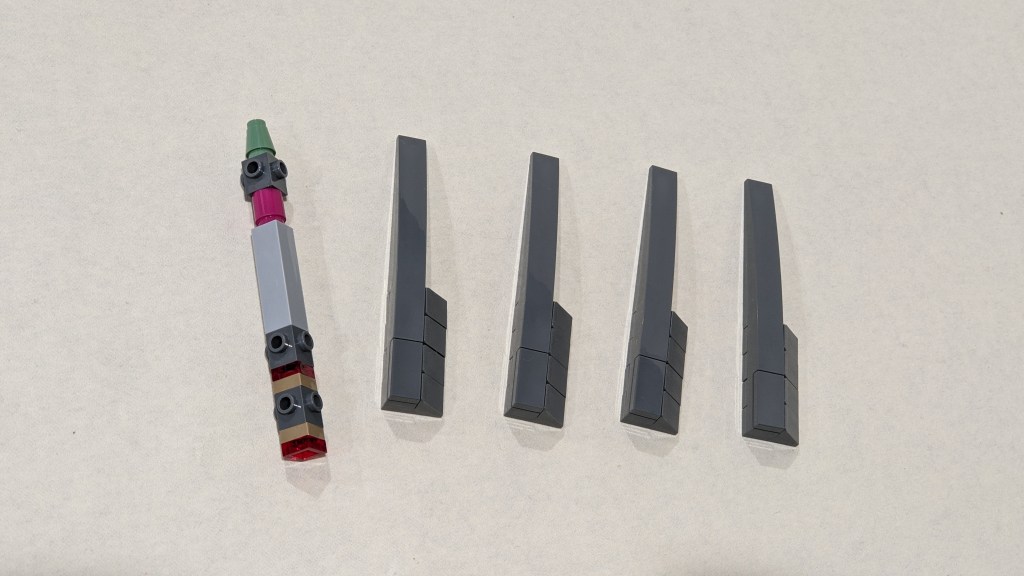
Next up was one of the things I had really been looking forward to – the stained glass windows. They use an interesting selection of parts to come together as outlined below.

Here you can see how it looks once installed (and with the walls built up a bit).
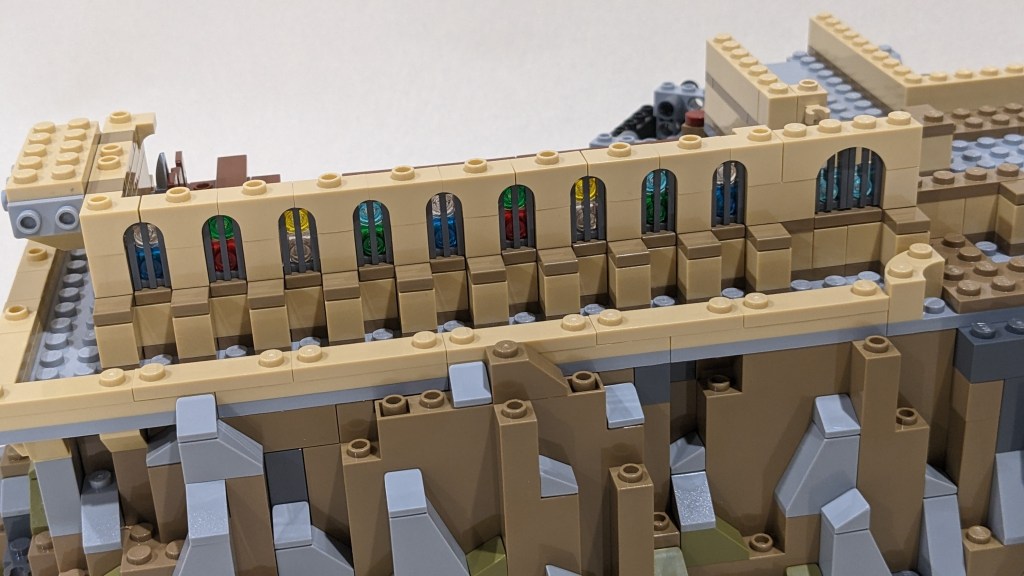
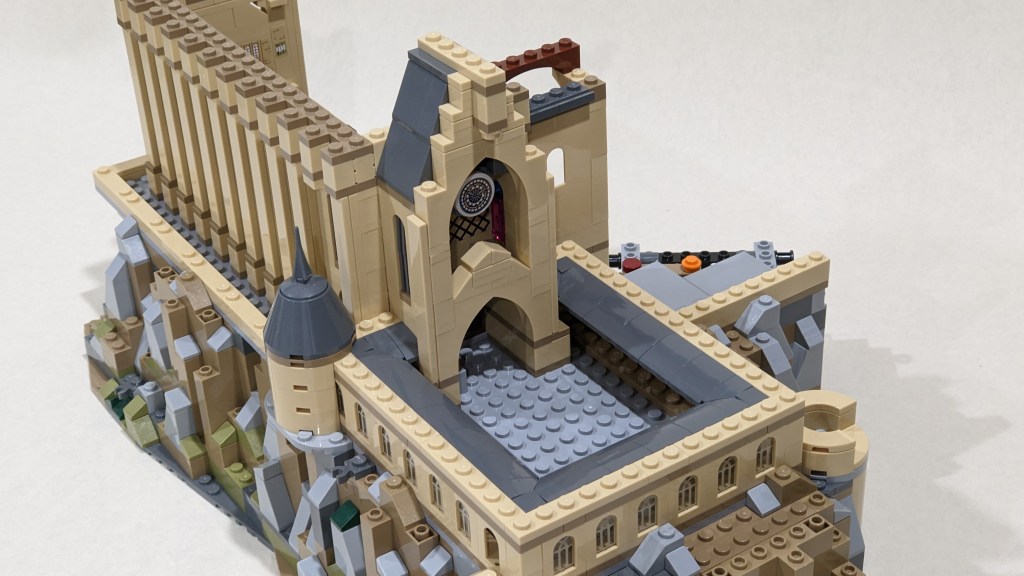
After that milestone, we temporarily move our attention to the forecourt, where the walls are quickly added. Small, printed glass panes add additional detail. As the photo shows, one appears to be missing, which simply represents that that is an exit (to the viaduct that will come much later). Another one is “missing” where the stairs from the boat house ends, to allow the students to enter the castle from there.

Then we get started on the entrance to the Great Hall, soon followed by adding extra height to the walls of the building.

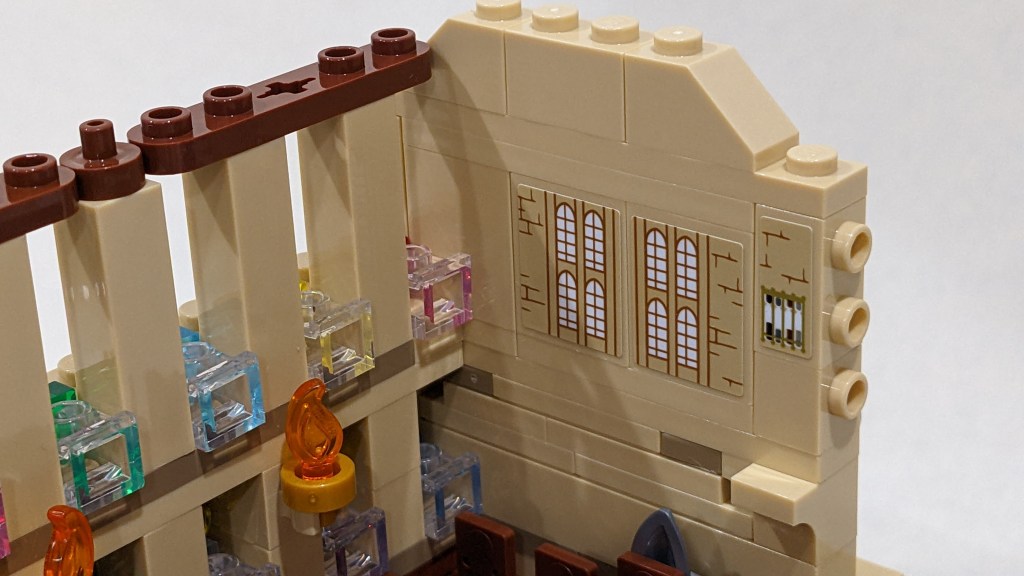
As seen below, we have started on the next row of stained windows. But I’ll bring the attention to the back wall. That is one of the few weak things I’ve found with this set. It annoys me that the “window stickers” are not centred on the wall, Nor are they centred with the chairs under the windows (or the door across the floor on the other side). So it doesn’t really align with a single thing, which would have been nice, though I also understand why that is not easy given the way it has been designed.
Here you can see the completed second row of windows.
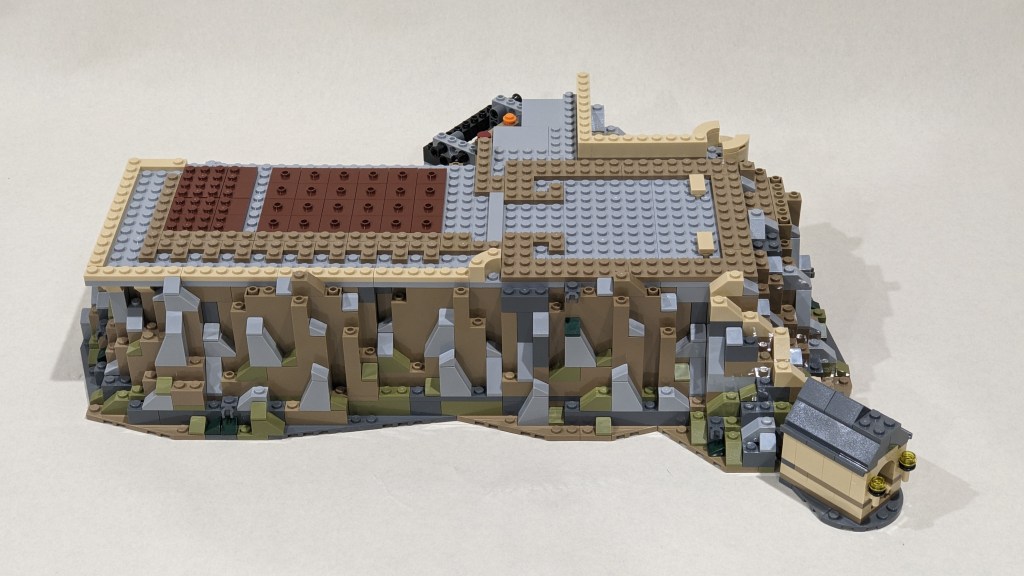
With that done, we revert back to the forecourt, finishing the roof along the sides, and adding the roof to the entrance section too.
We continue to the great hall, with some interesting work on the gables, using “jumper plates” to offset plates so you get a steep slope up towards the top.

The inside of the hall is coming along nicely too – with the four house banners added (stickers of course). Overall, the Great Hall interior looks great. To the left of the photo below, we see all the “educational decrees” from the Umbridge year. It is a nice idea, but I don’t really like the use of the larger panel elements in exclusive sets like this.

Returning to the roof, with the gables done, we can now build the main roof. With the fear of repeating myself, I really like the detail on this part as well.
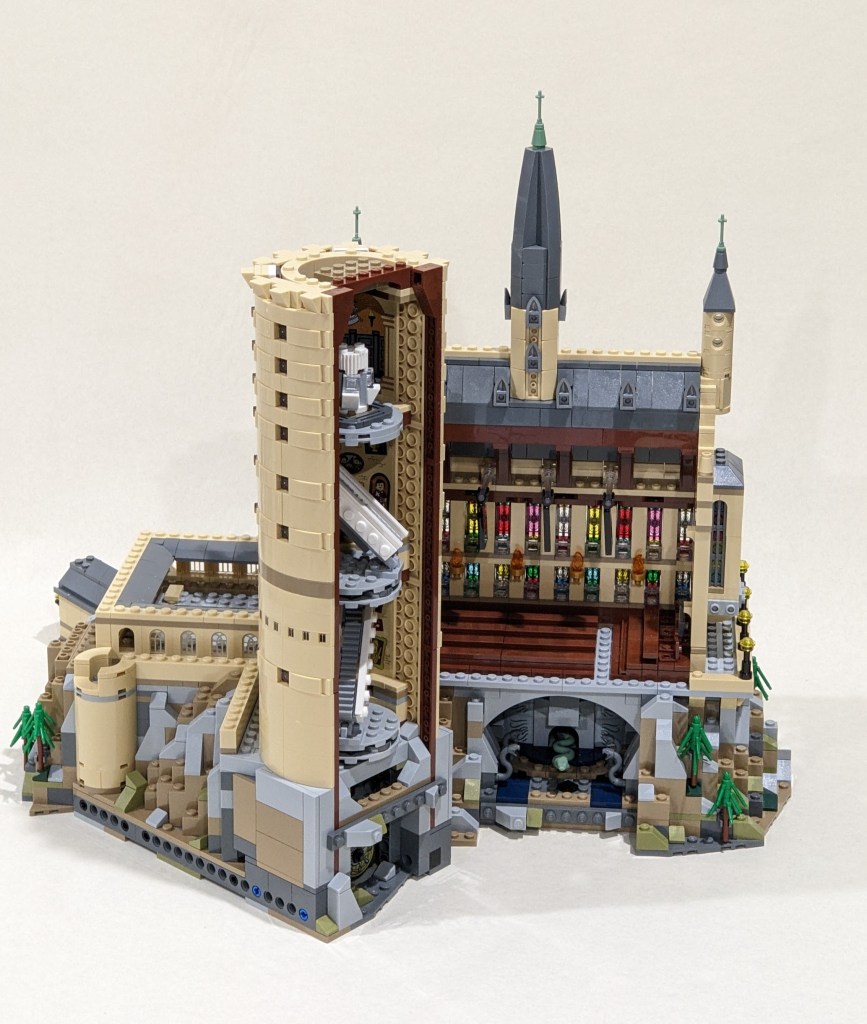
And let me then pause here for a moment for a couple of photos showing how the full model looks at this point.

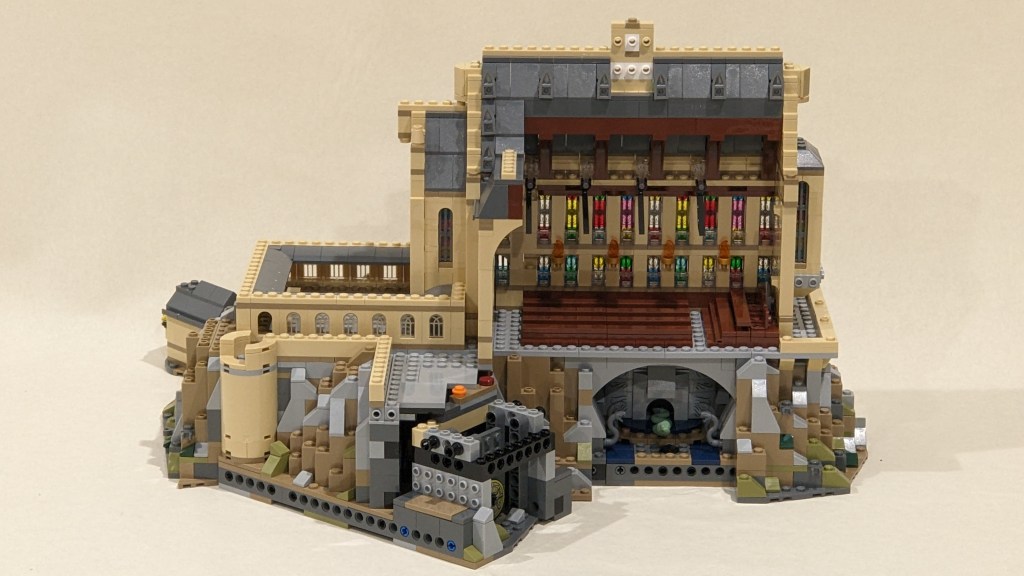
I must say, I feel really happy every day after I have built another bag. It really presents well – even in this unfinished form.
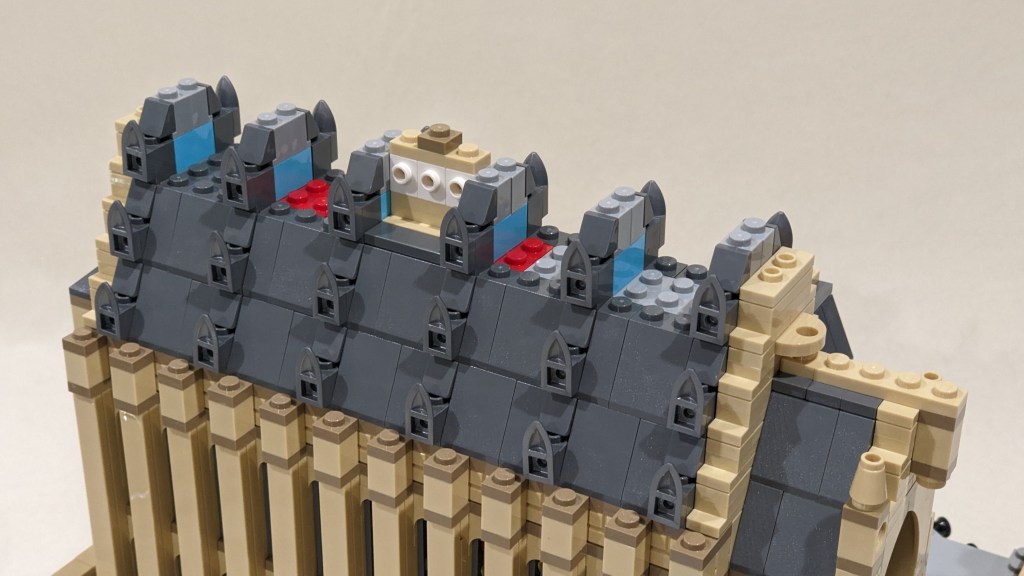
To complete the Great Hall, we just need to add its towers. Curved slopes are used for the centre tower roof, and it works really well.
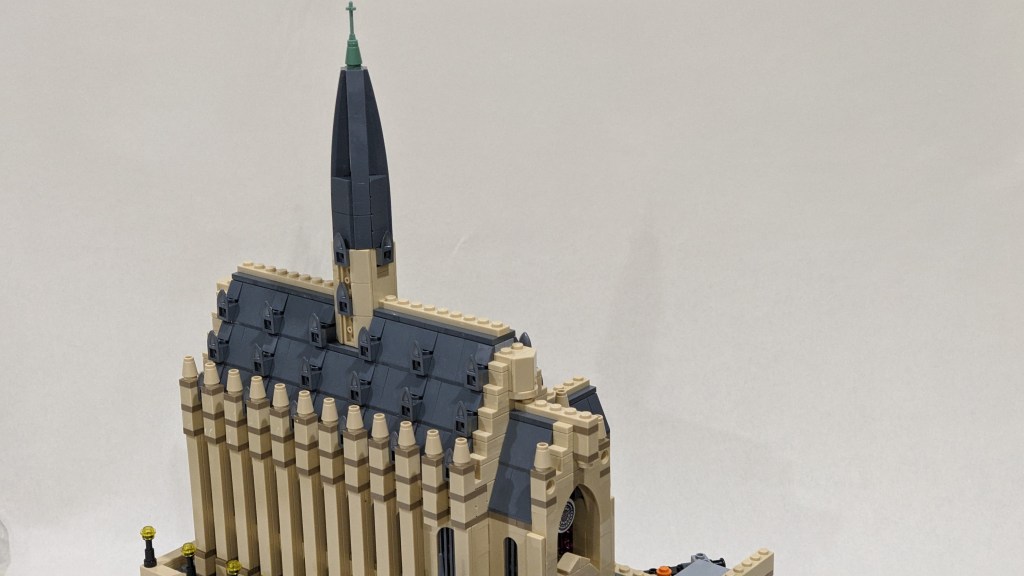
Here is the set with the completed Great Hall. As a bonus we got five microscale dementors, you can position around the Castle, indicating that it is under attach from the dark forces. We’ve also added trees at this point.


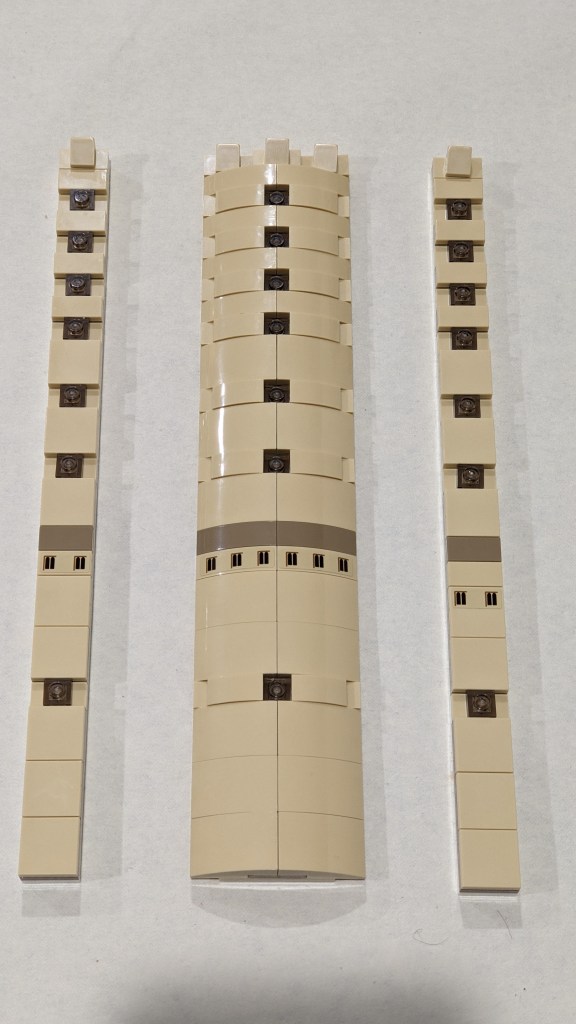
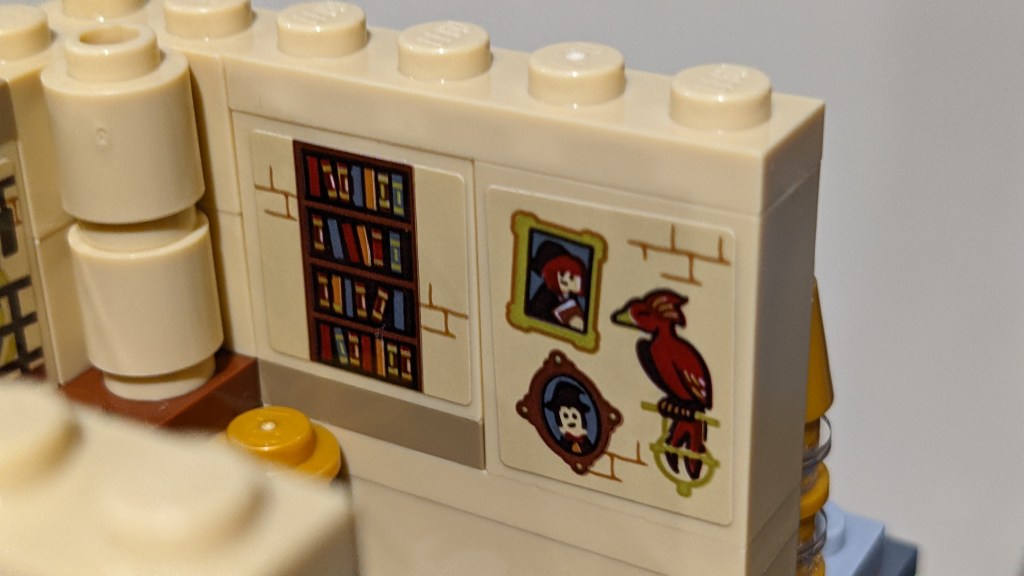
With that done, we start on the Central Tower. The core is built up fast in modules – with stickers used to add the paintings that dominate the walls inside the tower on the first two modules (from the left below)

The third module has Moaning Myrtle’s bathroom (also with stickers), while the top one will become Dumbledore’s office.

While the tower interior was quickly built, the curved panels used for the sides don’t look that great. So we add a layer of curved slopes to the sides, to make it look more brick built. It works really well, but also takes up quite a few extra bricks.


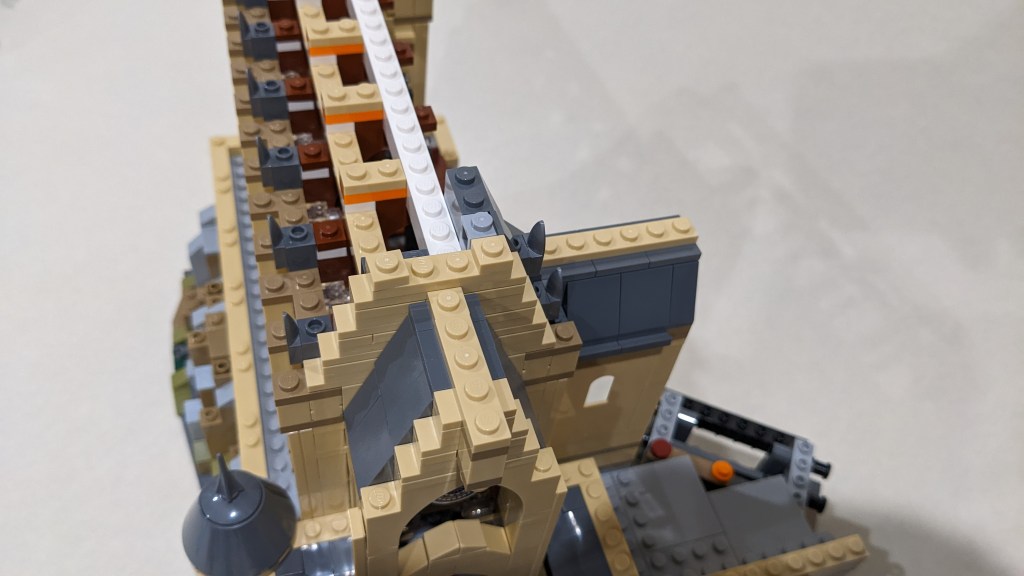
Next up is the moving staircases. They are well designed and each sit on a turntable, so they do indeed move.

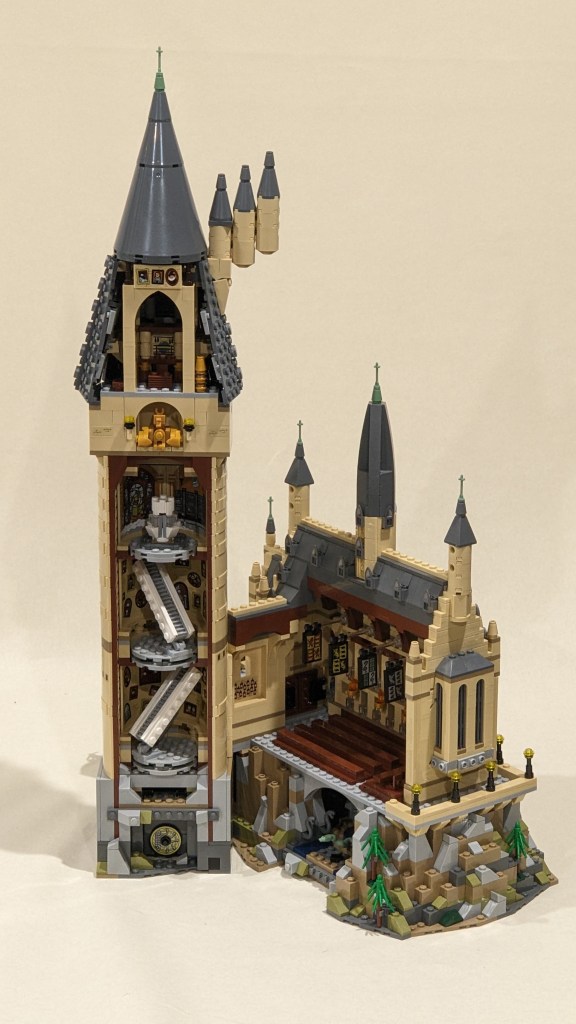
Here is the completed base of the tower. We now only need to add Dumbledore’s office and the roof.
Dumbledore’s office is like many other parts of the castle decorated well with stickers. None of them were too difficult to apply, and it does add to the charm overall.

Finally, let’s see how it looks once completed!

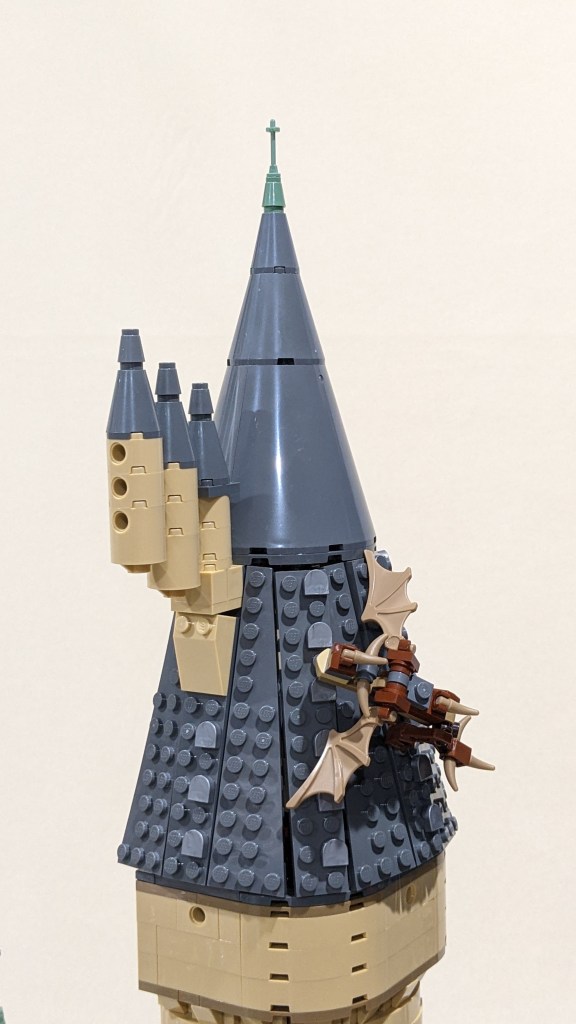
Note the addition of the Hungarian Horntail dragon, another well designed microscale figure.
To be continued…
This remains a really cool build. I really love the look of this completed module. Next up is book 3, which will take us back to ground level to make the foundation of the other half – and add a few iconic underground rooms as well.
I’ll try to get this to you soon!
Till then, Build the magic!
(Note that the set was kindly provided by LEGO to review – the views expressed in this post are however my own)


2 thoughts on “REVIEW: Hogwarts Castle – Part 2”