
In recent years, LEGO has tested the market for Harry Potter themed display sets – giving us the excellent micro-scale Hogwarts Castle in 2018, a buildable model of Hedwig in 2020 followed by Fawkes and the magnificent Hogwarts Icons set in 2021. Another display sets we got in 2021 was the Harry Potter and Hermione Granger “maxifigures”. This is my review of those…
Set 76393 – LEGO Harry Potter: Harry Potter and Hermione Granger – 1,673 pieces
Price: US$119.99 / €129.99 / £114.99 / AU$199.99 / 1199 DKK
In 2020, LEGO surprised us (well, at least me) with the release of Hedwig. Not being minifigure scale, this model was designed for display by Harry Potter fans, maybe building on the success of the Brickheadz series of Funko Pop style figures. The set seems to have sold well, because in 2021 we got a number of what I will call display sets.
Excluding the Hogwarts Icons set, the Harry Potter and Hermione Granger set of maxifigures (brick-build upscaled minifigures) is with 1,673 pieces the largest of these display sets.
Embarrassingly, this review has taken way too long to finalise. Back in November, I found got the set out to build – with the set kindly being provided by LEGO’s AFOL Engagement Team for me to review.

I generally don’t rush building – as I really enjoy that part. But as I was busy most weekends, I only finished it early December, where my Advent Calendar review took most of my available spare time. And then I had my MOC competition to see to and other life commitments, and thus this review write-up wasn’t finalised till the end of January.
Good things are worth waiting for they say – so let’s get on with the review and see if those figures are really worth the wait!
Box and content
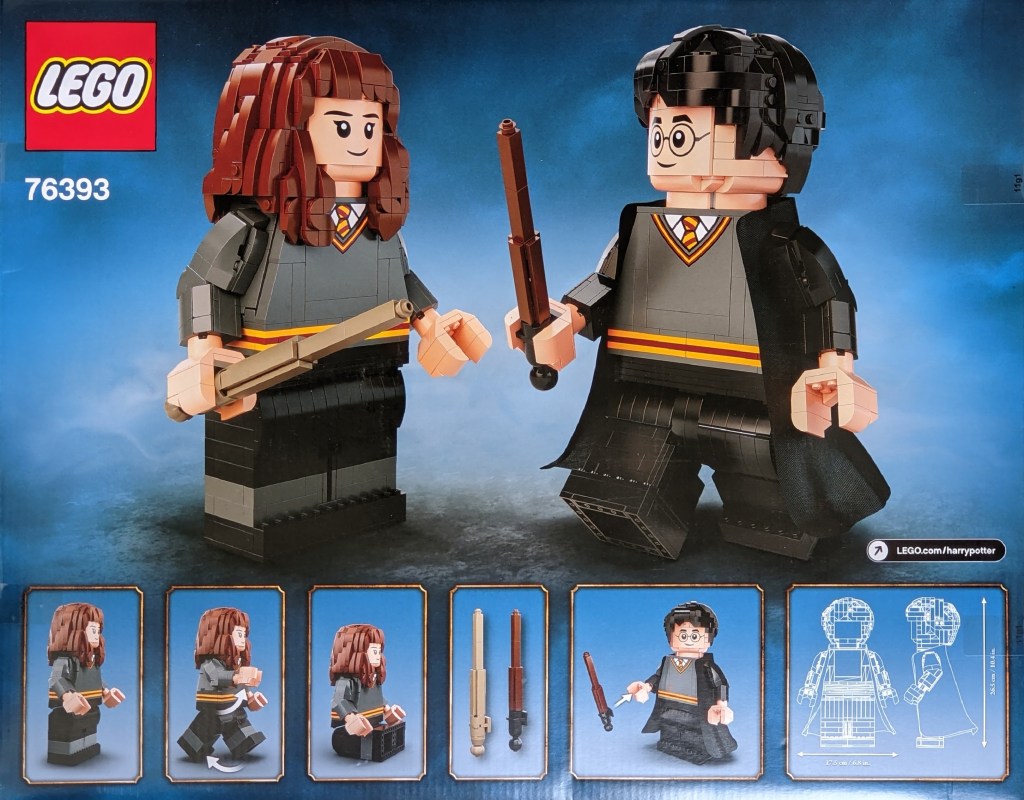
The front of the box shows the two maxifigures we get. You can sense you can pose them well, with Harry’s head slightly turned, and the legs movable as on a real minifigure.

The back of the box provides more insight to how the figures can be posed with small insert photos, which also highlight that the wands easily can be unattached from the hands, as well as showing the dimensions of the figures, which stand over 10 in. (26 cm) tall.
Inside the box, you find 12 numbered bags with bricks (some numbers have two bags, so they are numbered 1-8), a small unnumbered bag with the cloth for Harry’s cloak and the instructions, which are neatly packed in plastic too to ensure they don’t get creased.

Unpacking the instructions, you can see they two models have an instruction book each. Similarly, Harry uses bags numbered 1-4 and Hermione the bags numbered 5-8. This makes it a perfect set to build together with another, such as your partner or one of your kids.

Building Harry Potter
As previously noted, Harry is built from the bricks in bags numbered 1-4. You start with buiding the bottom of the torso, with the stripes on the sweater in the Gryffindor colours clearly visible below.

The sides of the torso are angled to get the characteristic shape of a minifigure torso. It is a quite clever constuction, that results in appropriate angled sides and is study as well.

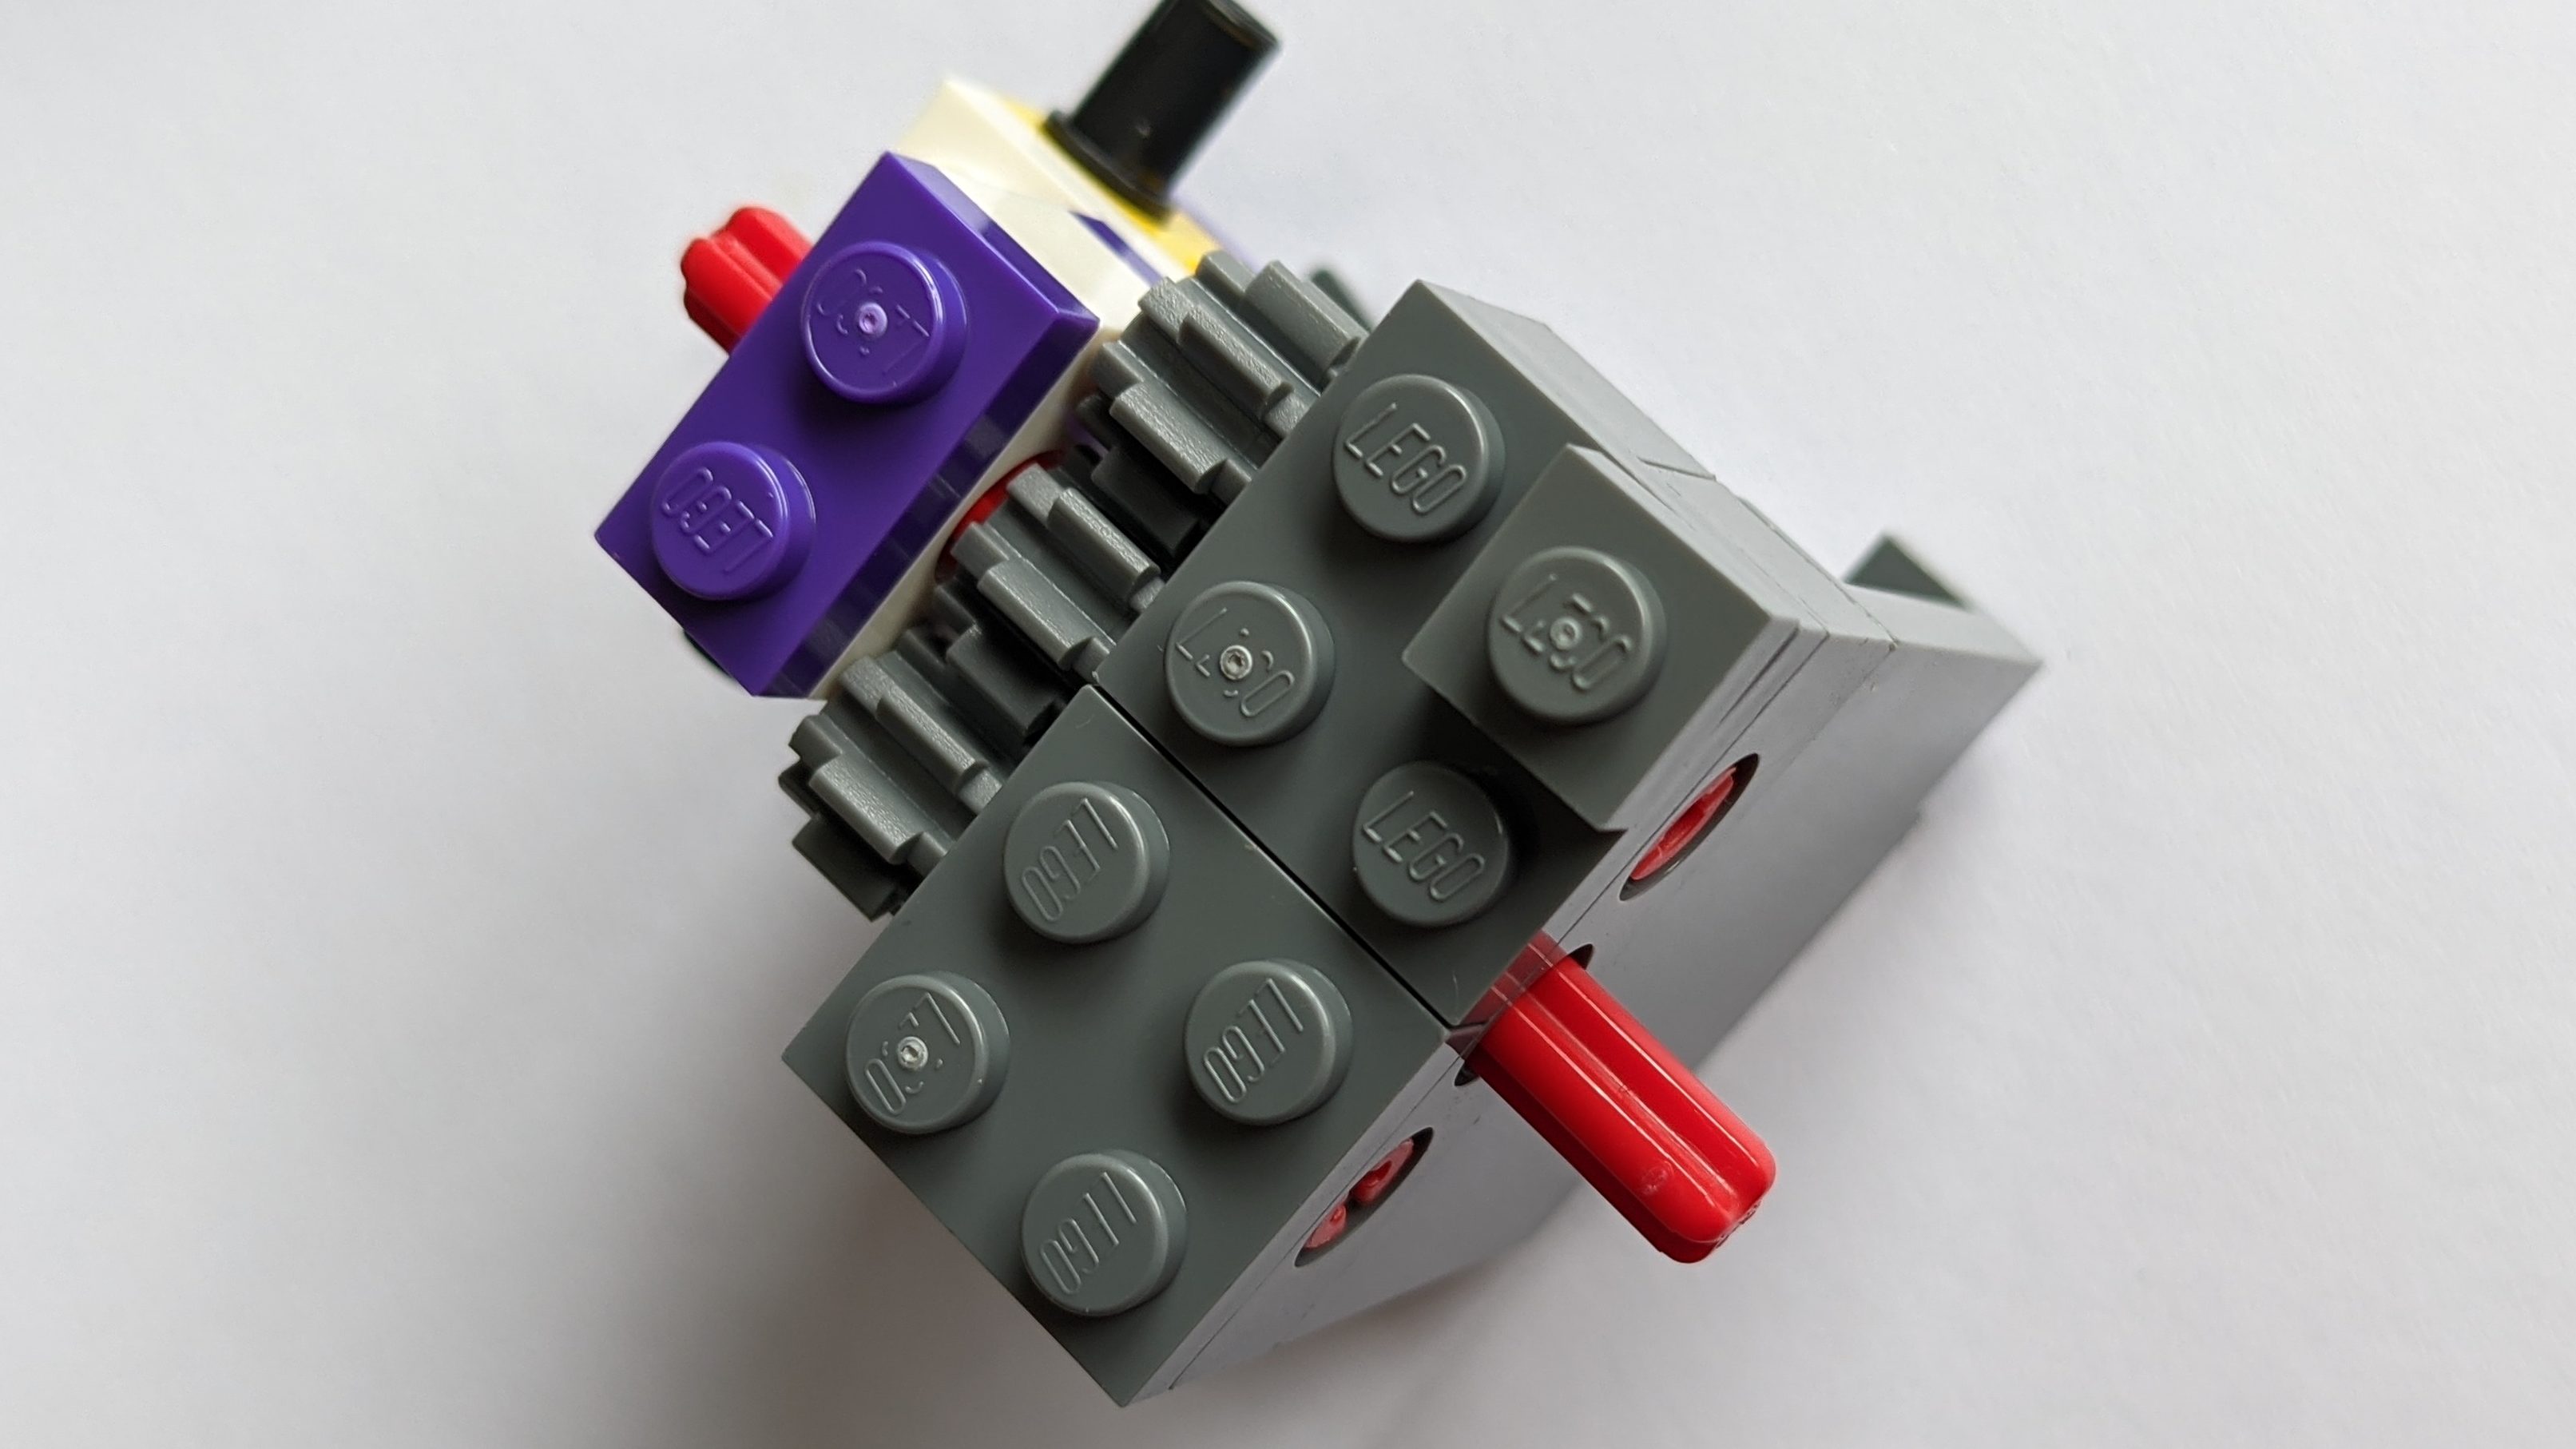
Building the sides of the torso, I noticed something interesting with axle which the arms will be attached to. The axle is attached to a gear, and that connects to two other gears. I realised when trying to turn the axle, that it has a lot of friction because of the two other gears it is connected to (each attached to a friction Technic pin). This allows the arms to be positioned in different angles and stay in that position – a very clever technique.
Another interesting observation when building the torso was when adding the neck (turntable, which allows Harry’s head to turn from side to side. At this point, a small 2 length Technic axle is dropped into the middle of the turntable. It doesn’t attach to anything there, it just sits there. But trying it with and without, having it in makes it a lot harder for the head to snap off, if applying pressure from the side.

After building the torso, you continue with the top of the legs (or the hips if we are to use the correct anatomical terms).

This part uses a lot of SNOT techniques (stud not on top), with elements added sideways and upside down. At this point, I was really pleased to see how well the build matched the anatomy of a real minifigure.
As with the arms, the legs also need enough friction to pose the figure in a stable position. This is done using two ball joints, and as with the arms, it works really well too.

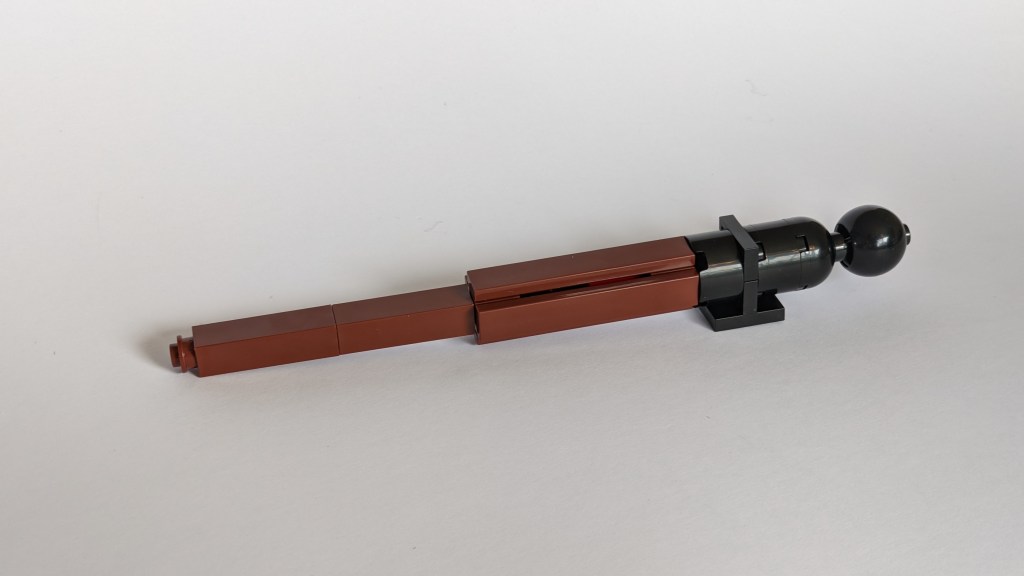
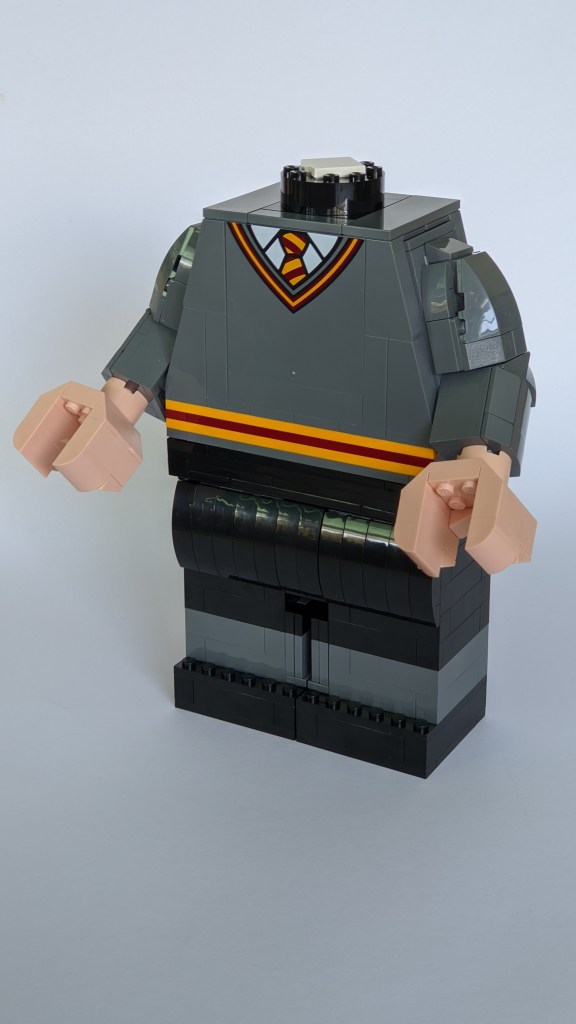
I will talk more about the legs and arms, when covering Hermione. So I will progress to show Harry’s wand instead. It is a quite simple build, but effective. The bracket is there to allow it to be attached to the figure’s hand.
Here is the figure with the wand, just missing the head now.
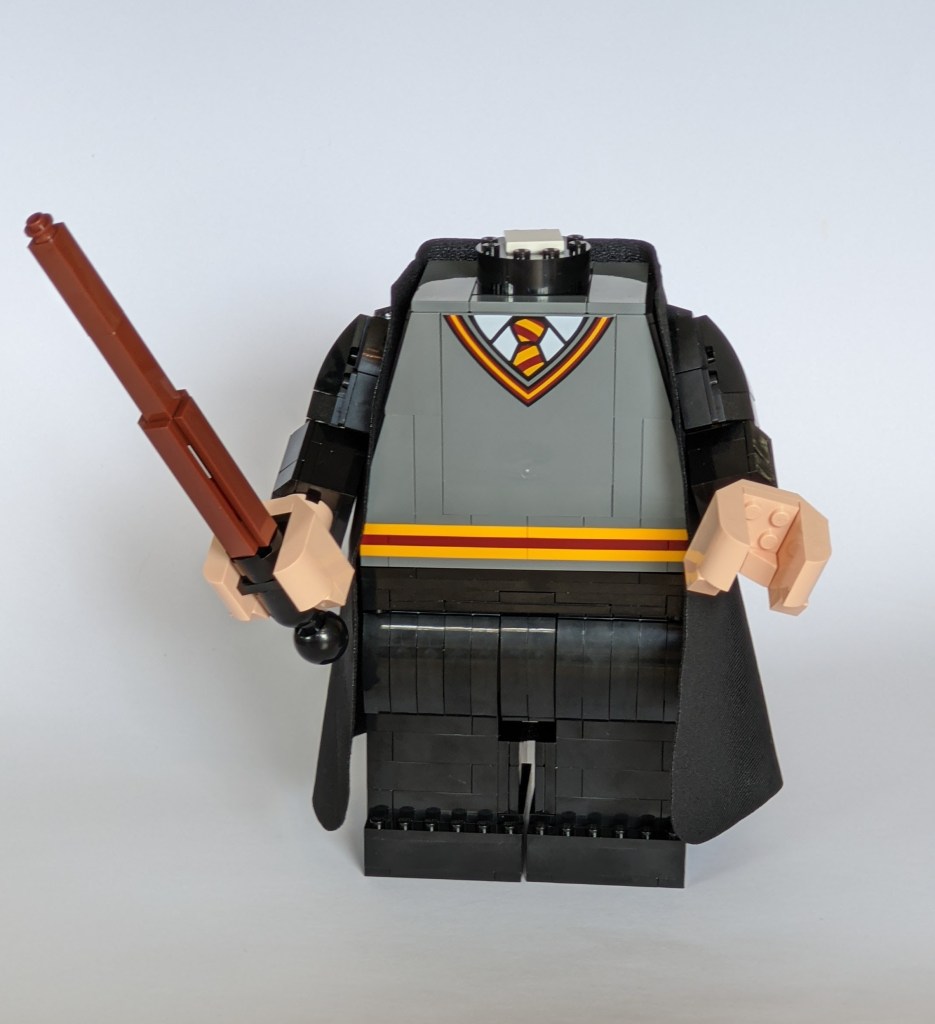

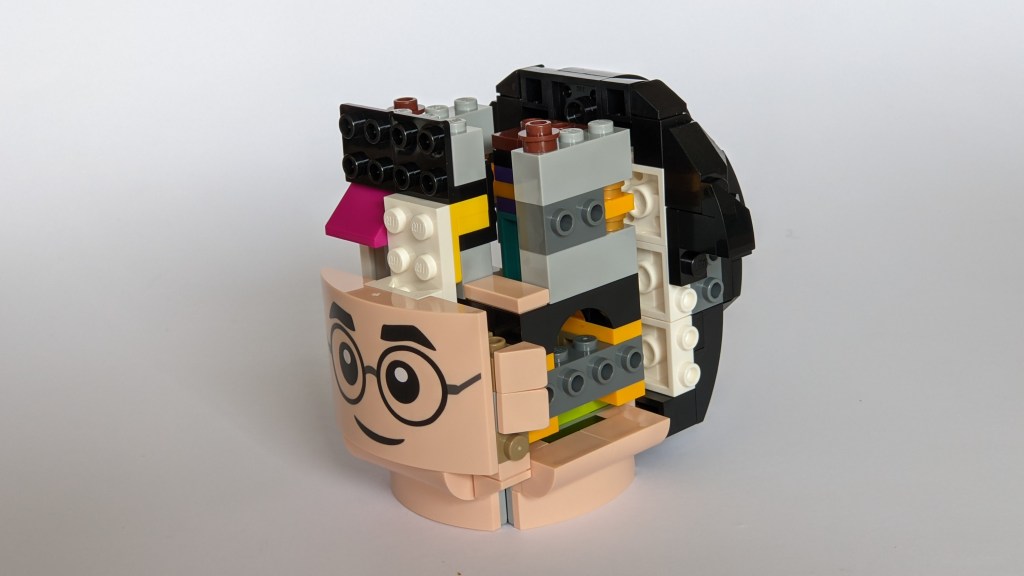
And the head is another interesting construction. It uses a lot if different bricks (and colours) internally, with exposed studs in all directions, occasionally with half plate offsets, etc – all there to allow face and hair to be attached in the best possible way.

The hair part in particular is fascinating, with lots of small elements that in the end come together and creates a rather perfect representation of Harry’s minifigure hairstyle.

At last, here is the completed Harry!

Let’s repeat this with Hermione.
Building Hermione Granger
Hermione is built from the bags numbered 5-8. Building Hermione soon after building Harry is not surprisingly more of the same, with the main difference being the hair, as there is much more of that. The similarities again makes this a great set to share building with another, with both getting the same experience.
Here is Hermione’s torso and “hips”. Looks familiar?

The legs are slightly different though compared to Harry’s, having a grey section in the middle, assumingly representing Hermione wearing a skirt. I skipped quickly over the legs in the previous section (to have something for this section to cover). As you can see, the build is a really nice representation of upscaled minifigure legs.

The arms are also nicely done, using parts well to create the slightly bend arms.

Here is the torso with arms and legs attached.
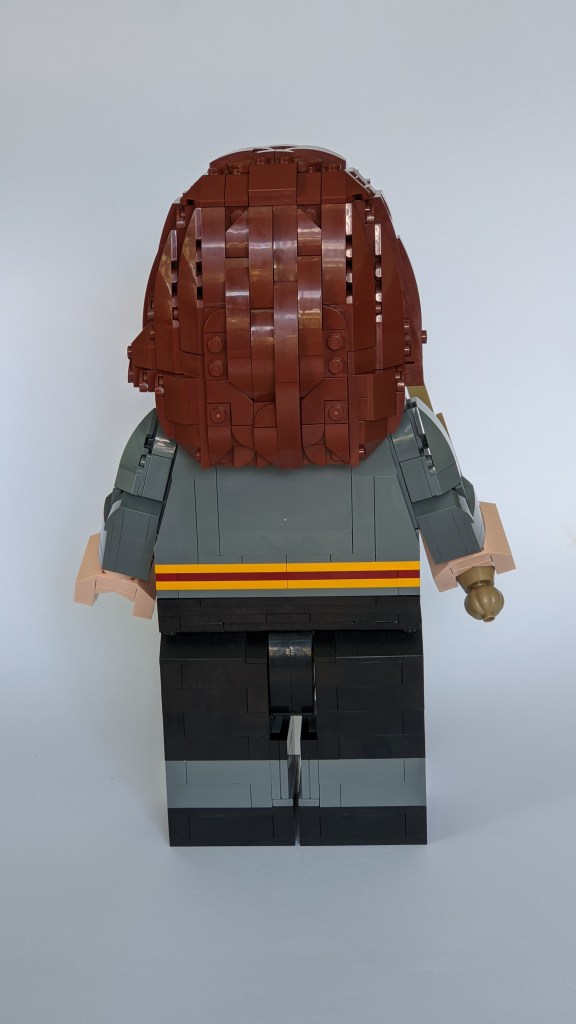
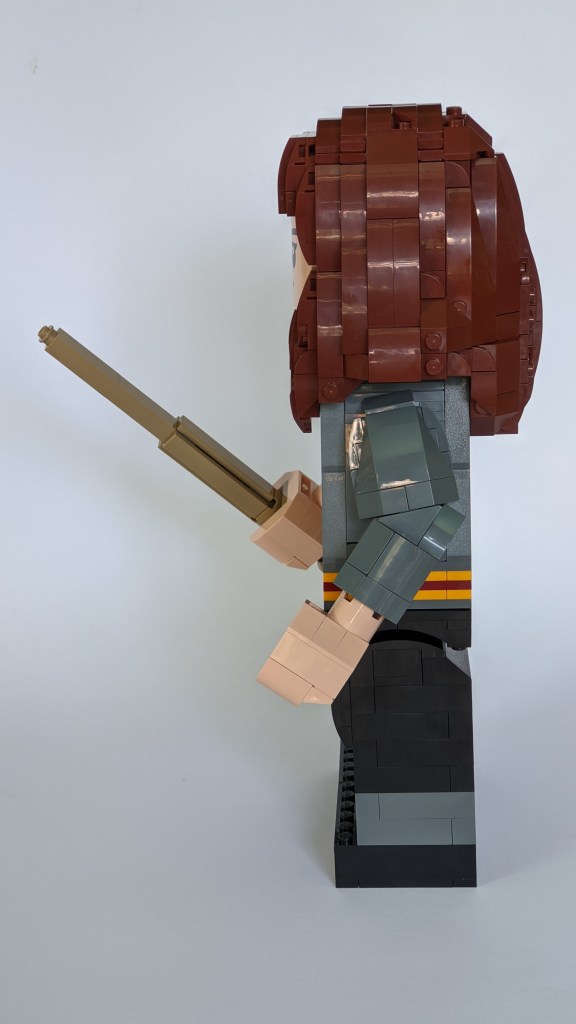
Hermione’s head is very similar to Harry’s when it comes to the internal structure, face and neck. But it does have more hair to attach.
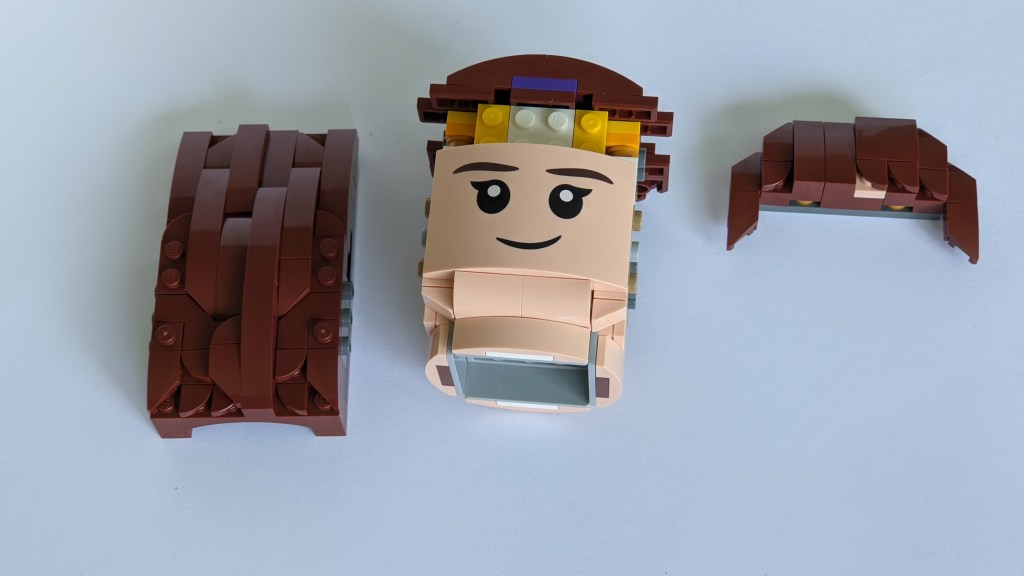
Here is the completed head seen from different angles. The hair is really well done.

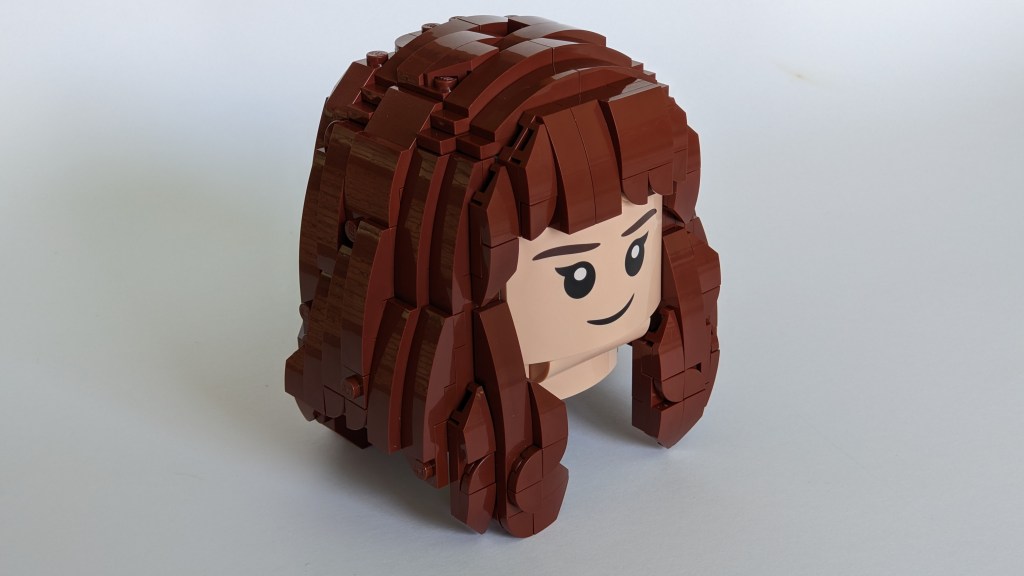

And with the head attached, here’s the end result.

I really like how well these figures have been made to match the proportions of minifigures. Here are a few more photos of Hermione from different angles.


Conclusion
While building two very similar figures could be expected to be repetitive, it didn’t feel like that – at least when building them a few days apart. And the build experience is high, as there are many interesting build techniques used to match the anatomy of a minifigure as well as possible, while also making it sturdy enough that it doesn’t fall apart if you are picking it up or changing its pose.
While reasonably sturdy, I wouldn’t think they are particular suited for any play though, so have that in mind if considering gifting to a child. Some may like simply having them on display, but others might prefer real play sets.
Overall, I do like the set. The build experience is different from the many minifigure scaled sets and the figures look great as decoration on a piece of furniture. I do have an interesting idea on how to display them a bit differently though. I’ll post about that in the coming weeks.
Having Harry and Hermione, it makes we wonder if we’ll see more of these – such as Ron – during 2022 (or beyond). Time will tell…
Till then, Build the Magic!
(Note that this set was kindly provided by LEGO for review. The views expressed here are my own however).


5 thoughts on “REVIEW: Harry Potter & Hermione Granger”