
This review continues, at last, from Part 1 where we looked at the Ford Anglia and the Whomping Willow. In this part, we will first have a look at all six figures that go with the set, then a look at the castle parts themselves.
Figures
All figures comes with dual facial expressions, which is particular nice for playsets like this. All have a relatively happy face (I say relative, as some characters seem to be missing the happy side) with the other showing sad, scared or angered faces.

“Happy faces” – yes these are the happy expressions of Snape and Filch!

Angered/sad/scared faces.
Overall, the figures are great.
Argus Filch makes a return, having previously been in the 2010 Hogwarts Castle set. As such the figure back then was pretty good, but he’s been improved even more and is probably my favorite character in this set. But how can you include him without adding the cat Mrs Norris? Come on LEGO, that’s an oversight!
Professor Snape is a key character in the Harry Potter universe, and is a nice addition to the set. And while the printed robe is fine, and facial expressions characteristic of how we know him, he is however also available in the same outfit in the cheaper set Quidditch Match (set 75956).
Hermione Granger and Seamus Finnigan are in their Gryffindor uniforms perfect for a lecture in Potions (overseen by Professor Snape of course) or a Charms class with Professor Flitwich (should any have him from the Collectible Minifigure Series). Finnigan’s makes his debut as Harry Potter character, so he’s a particular welcome addition – and I’m sure many kids will have fun with him blowing up potions in Snape’s classes or burning feathers in the Charms lectures. Their uniform shirts looks great close up, but from the distance, it is quite difficult to make out the Gryffindor colours, which is a shame.
Harry and Ron are perfect for the scene with the flying Ford Anglia (and the accidental landing in the Whomping Willow). Glad that they have different casual clothes on than seen in Aragog’s Lair (see my review of that set here), so you have more to choose from.
The castle
The castle takes up the remaining 3 bags of the set (with the Ford and Whomping Willow reviewed in Part 1 being in the first two bags).
You start with building the base of the small tower in the set.

The glasses with ingredient for potions (I presume) does a good job covering for the panels used. Generally, I don’t like the use of panels – it may be faster to build (and cost less), but it is less flexible if you want to redesign, and has a cheaper look.
As usual, LEGO designers work with limitations of whatever elements that are in production in which colours at the time. In this set, this is highlighted by the “weird” use of the tan 1×1 plate on the 1st floor corner. If you don’t like it, you can easily substitute (which I did – my OCD was too strong).

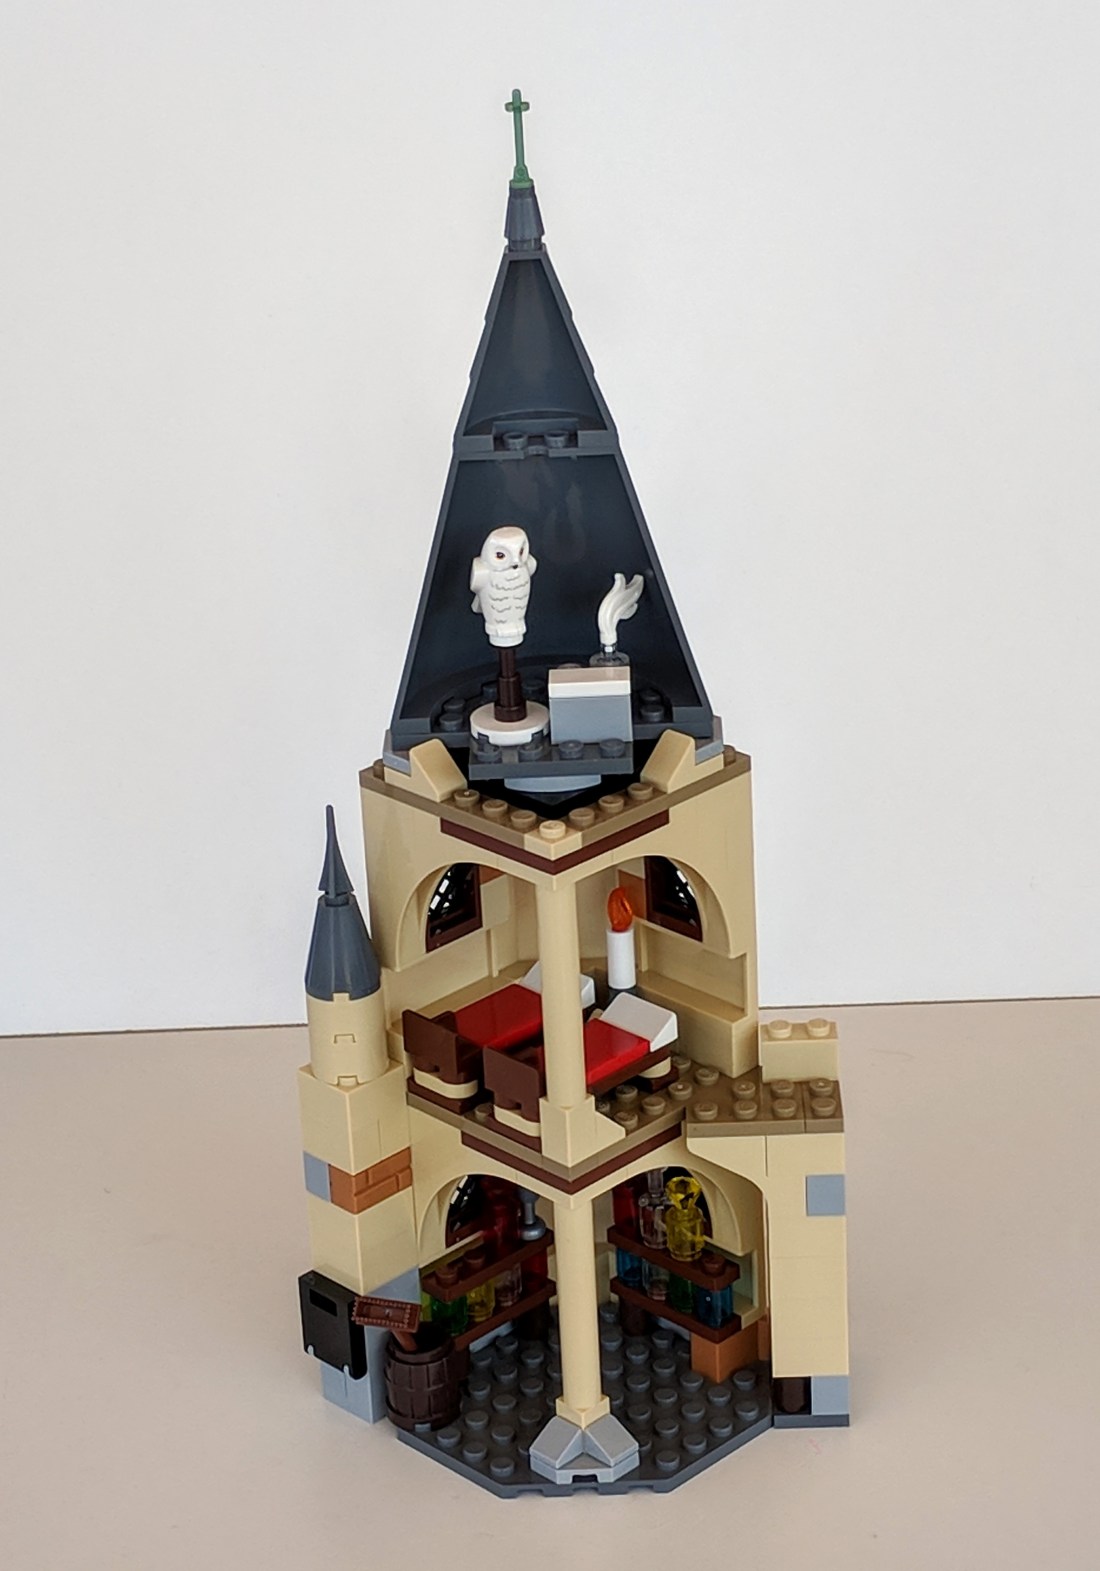
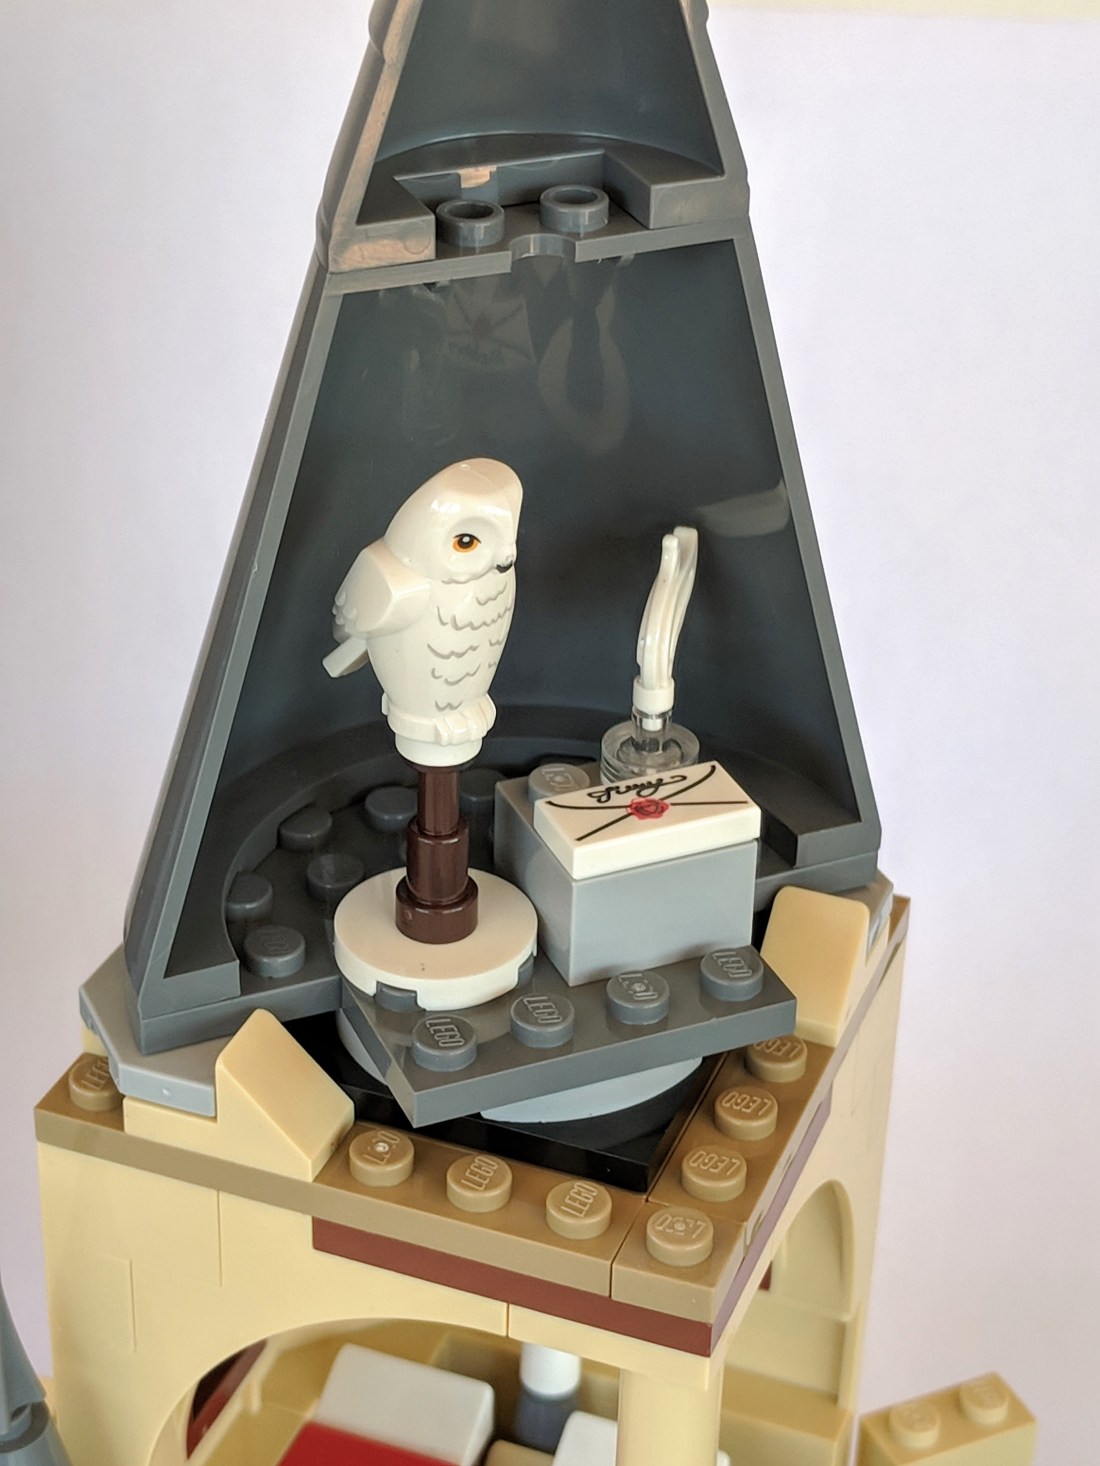
When finished, the tower feature a potions room downstairs, a first floor Gryffindor dormitory with two comfortable beds and the Owlery at the top floor.

Again, on the top floor is an opportunity to improve (unfortunately it seems LEGO didn’t have any printed envelope tiles available).
Here’s my top floor with a couple of part substitutions.
The next section to be built is the castle gate. The brickwork is similar to the tower and it’s a rather simple build, and unfortunately without any doors, it just has a gate opening. The gate section could be a good backdrop (it would have been better with doors) for anyone seeking to recreate the first flying lesson with Madam Hooch (should any get her from the Bricktober pack, or any older sets).

It looks reasonable when connected to the tower though.

The next bag adds another room, that connects to the other side of the tower. The build is very similar to the base of the tower, and the room itself is another potion room. It might have been preferably to have another classroom, but it is probably simply to enlarge the potion room from the base of the tower into a bigger classroom, but could be seen as a missed opportunity to add another classroom for variety.
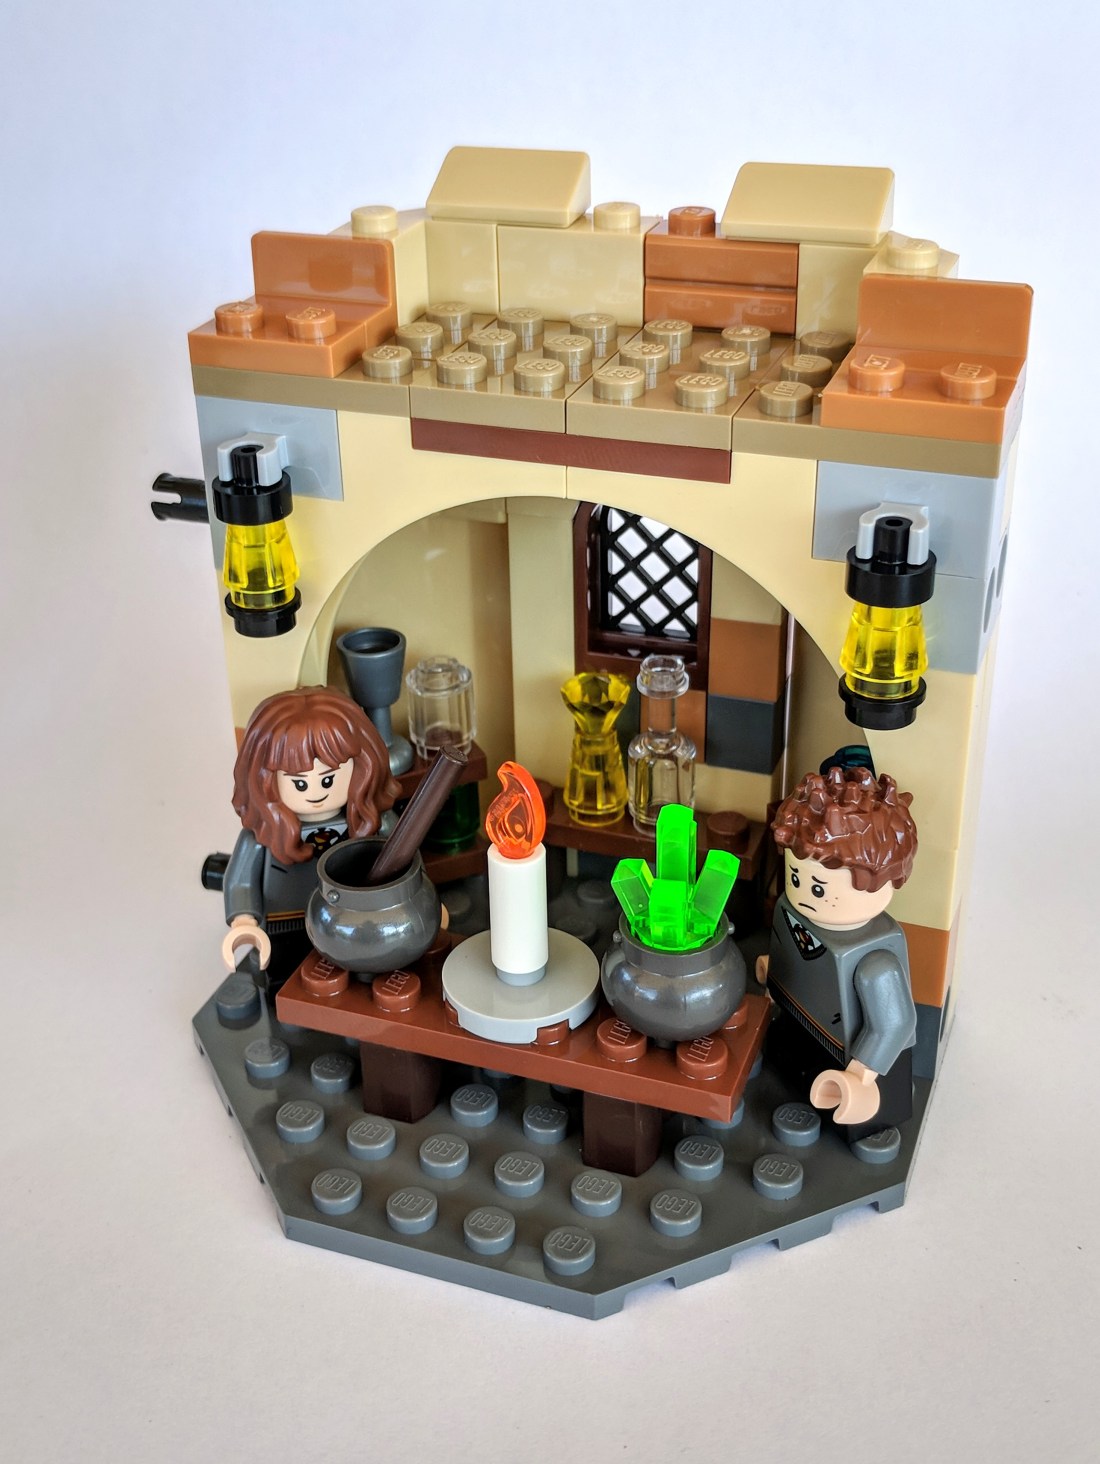
The table and two cauldrons (and the new candlelight and flame pieces) are however a nice addition to the room.

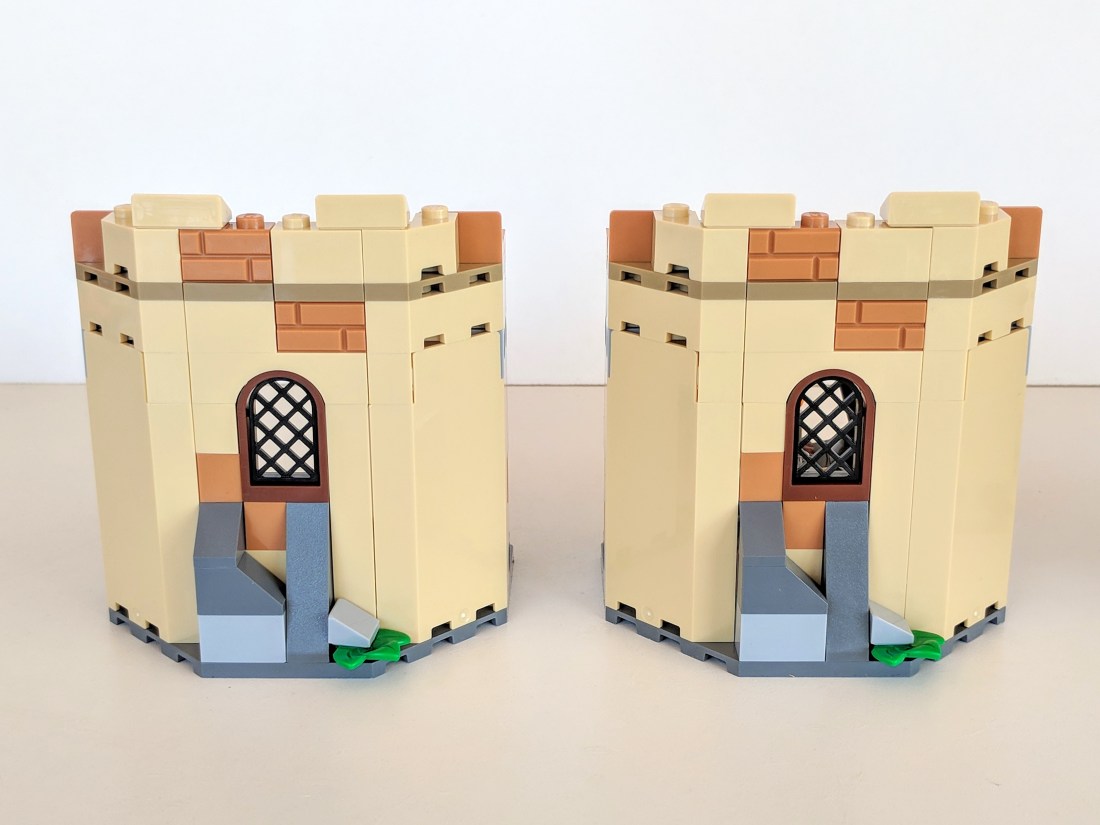
Finally, we can embark on the last section. At this point I started to feel the build was a bit repetitive, and I realised the front was an exactly match of the previous section built. It would have been nice with minor variations.
The inside is different though. Being Snape’s office it keeps to the potion theme. More potion glasses and jars do a decent job hiding the simple panels, and yet another of the new candles is a pleasant surprise.

Snape desk is one of my favourite elements of the whole set. The lamp is excellent and the small printed 1×2 “Swish and Flick” tile is perfect for a Charms class with Professor Flitwich (not included unfortunately) teaching the Wingardium Leviosa charm.

Overall opinion
In summary, this set provides (as other sets in this series) a great selection of figures.
The modular nature of the castle sections, being able to combine this with the Great Hall set, is definitely a good selling point and I hope they will add more sections in 2019 (and beyond).

With the Ford Anglia and Whomping Willow taking up a rather large part of the bricks, the castle section is somewhat underwhelming for a set of this price point, lacking some wow-factor. That said, the rooms there are better laid out than those in the tower of the Great Hall set. It may still be less attractive as stand alone purchase.
Overall, due to the excellent figures, the first ever Whomping Willow, a decent Ford Anglia and some well equipped castle rooms, the set provides good value – in particular bought as companion to the Great Hall set.
Build the magic!

2 thoughts on “REVIEW: Hogwarts Whomping Willow – Part 2”