
When I did my review of the otherwise excellent Hogwarts Express (set 75955) I commented that the use of panels on the sides of the cab (driver’s cabin) was leaving an unfortunate visible gap and that there was no way for the driver to see forward either. Here’s a small fix one can apply to remove those issues if desired.

What you need
Here’s the train before the operation along with the bricks needed.
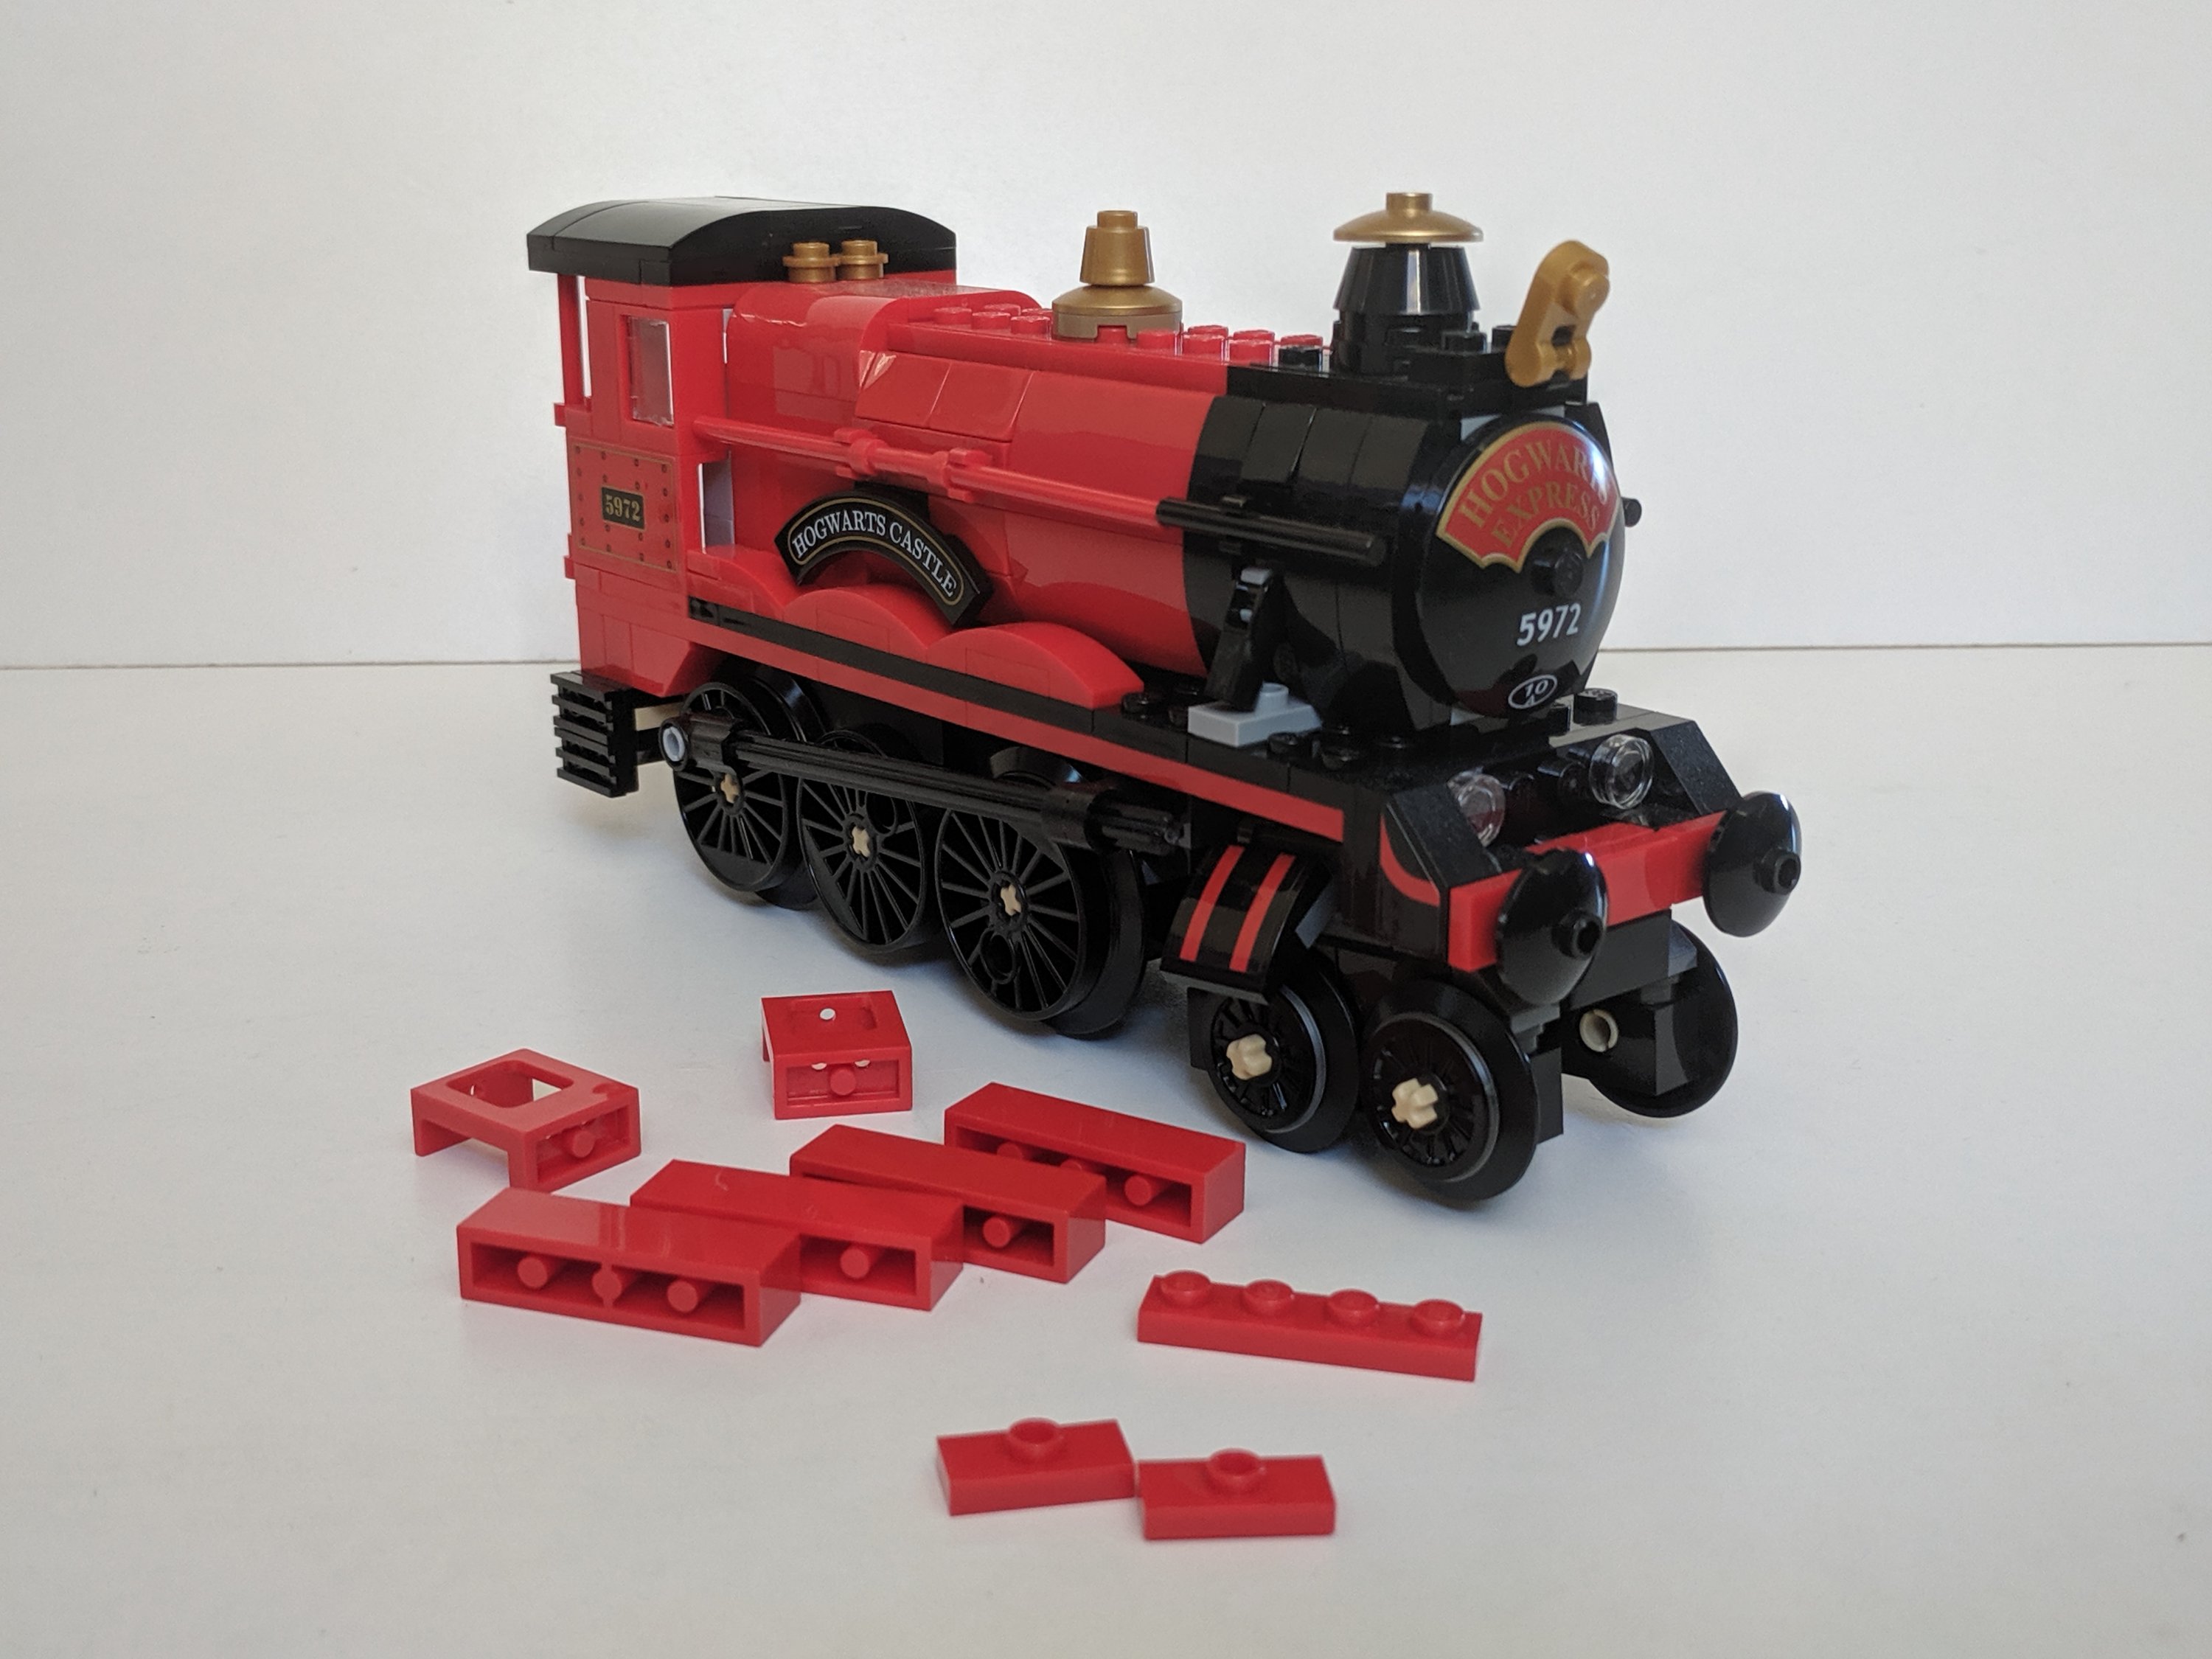
For the fixes I made, I used:
- Four red 1×4 bricks
- Two red window panels (part 60032)
- Two red 1×2 jumper plates
- One red 1×4 plate
Also, I bought a spare set of stickers on Bricklink.
Lets get on with the mod
Firstly, let’s get rid of the grey 1×4 plate that is slightly visible from the front and replace it with the red.

Then I swapped each of the 1x2x4 panels on the sides with two stacked 1×4 red bricks. I bought a spare set of stickers and applied the new ones. Relocation stickers can often be done but will never be as neat as first time applied. Note that for many years now LEGO no longer allows models to be designed with stickers that overlap multiple bricks, so to have a large sticker like that, they had to use panels to follow their design policy. The alternative had been to split the sticker into two (attached to each 1×4), which wouldn’t have been ideal either as hard to align well.
The windows are replaced with window panels. The open sides on these will now allow the driver to see what’s ahead now.
Finally, I replaced the black jumper plates under the curved Hogwarts Express sign with red ones on both sides. I have no idea why they used black as there are plenty of red jumper plates included in the set already.

All done then. All aboard…

Next, I better try to motorise the train myself (check here to see how that went).
Till then, Build the magic!

Very cool MOD! Is there a part number for the window panels? They seem a bit hard to find.
LikeLike
The window panels are part number 60032: https://www.bricklink.com/v2/catalog/catalogitem.page?P=60032#T=C
LikeLike