
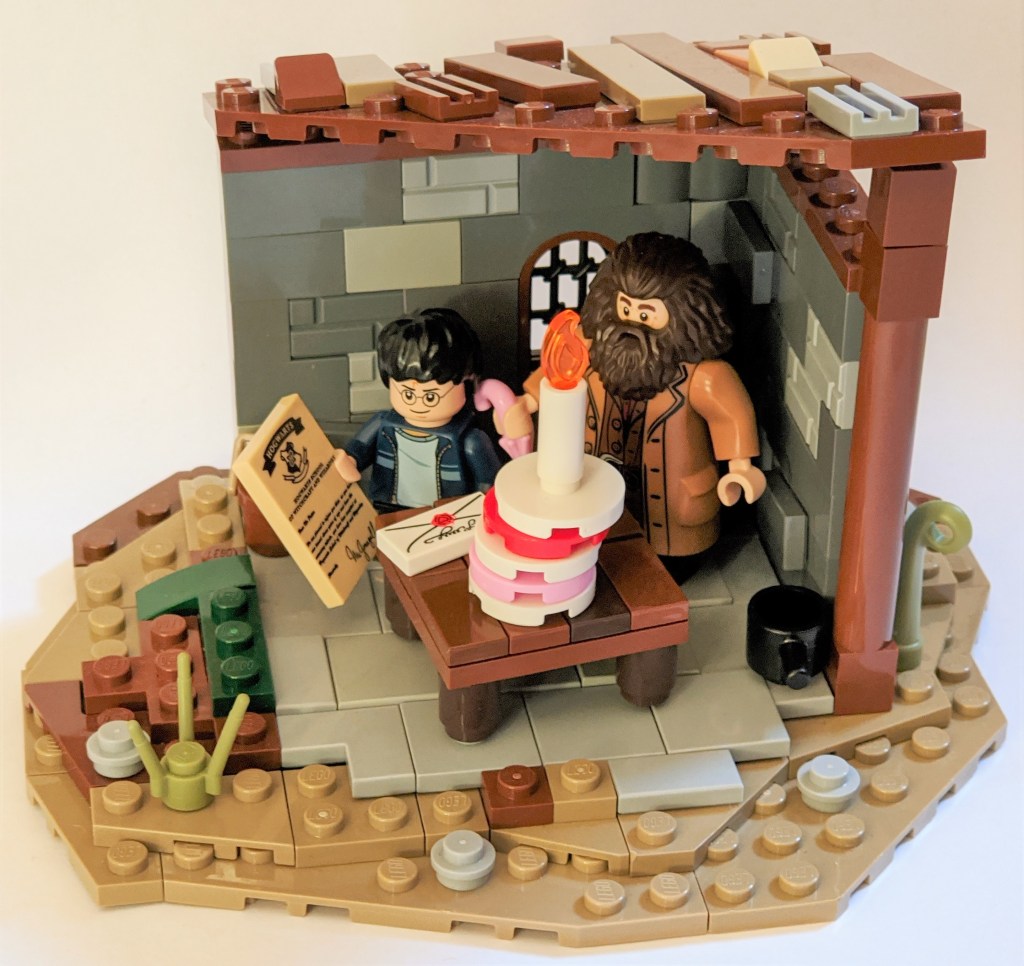
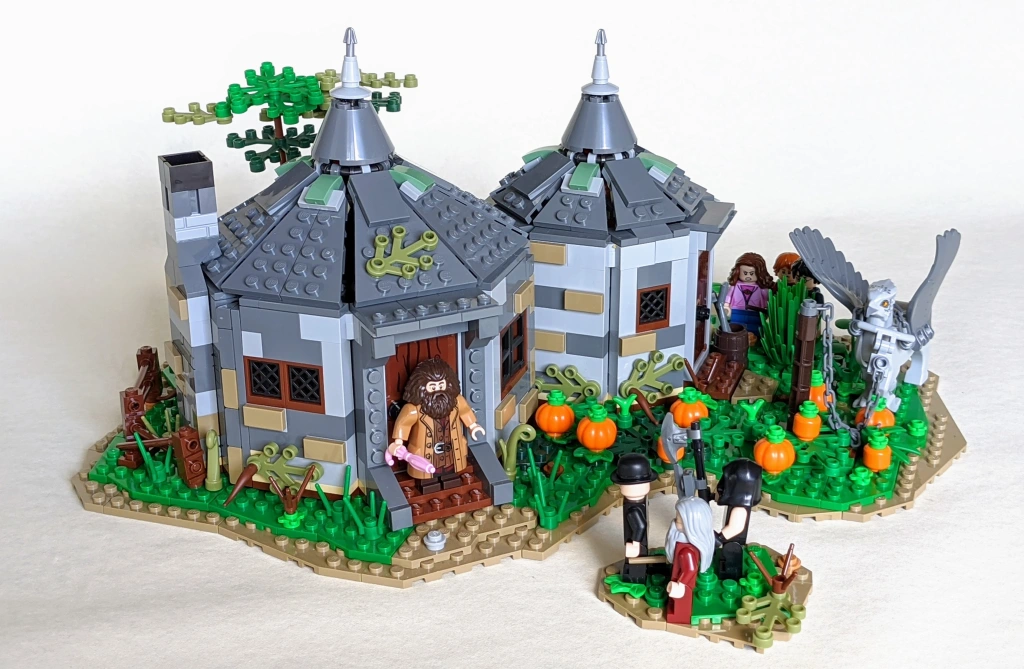
Hagrid’s Hut was one of my favourite 2019 LEGO Harry Potter sets. I recently added a removable back wall to the hut, allowing it to be displayed from all angles, both with and without back walls. Building a landscape to display it on seemed like an obvious next step, so here is what I did…
One of the best ways to get into MOC (my own creation) building is taking an official LEGO set and build a landscape for it to sit on. This can be done in a number of different ways.
A good place to start is grabbing a baseplate, and add scenery that fit the set to that one. For example adding the lake shore from Expecto Patronum (set 75945) to a blue baseplate, extending the shore a bit, and adding trees as your brick supply allows. Or you can go all-in with adding detail on that baseplate, heavily modifying the set to make it fit best possible, as I did in my Little Hangleton Graveyard scene.

Looking beyond baseplates, an impressive – but part intensive – solution that is commonly used is the “island” display. Here the display sits on an “island” built from irregular wedge plates. I used that for my Hut on the Rock Island display a while back (see below).
I decided to try using the island display approach at larger scale for Hagrid’s Hut. So in the last few months, when placing orders for bricks for other projects, I added dark tan and green both normal plates and wedge plates to the orders.
It is quite part intensive, so it is recommended starting with smaller projects. Or to split one larger landscapes into several smaller ones, which also gives flexibility when displaying as they can be repositioned more easily depending on space available.
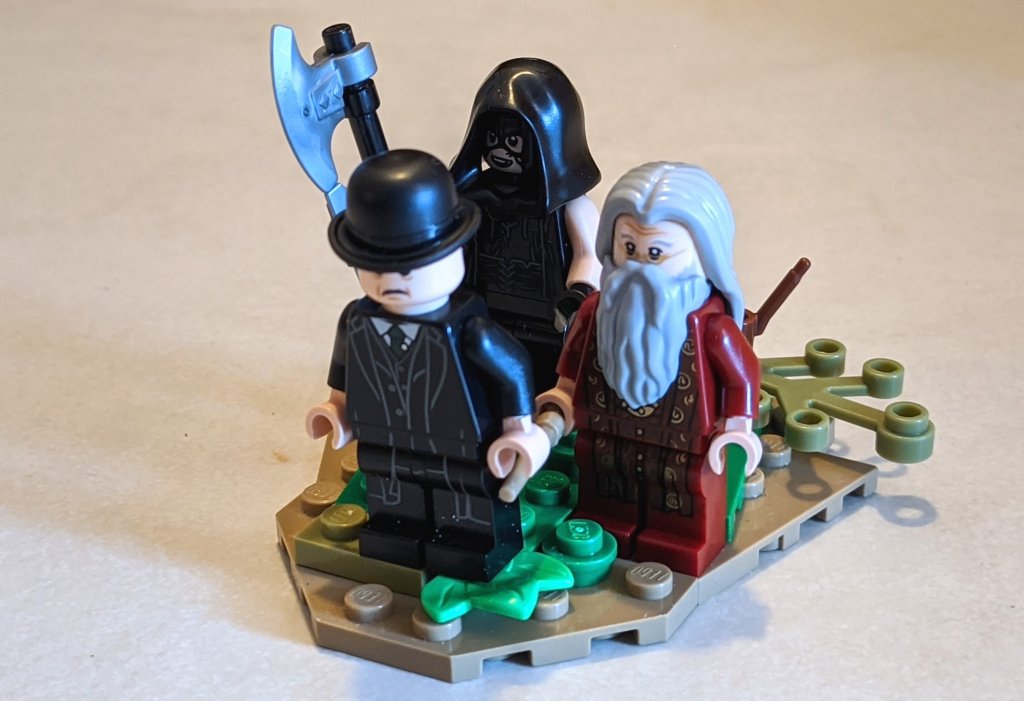
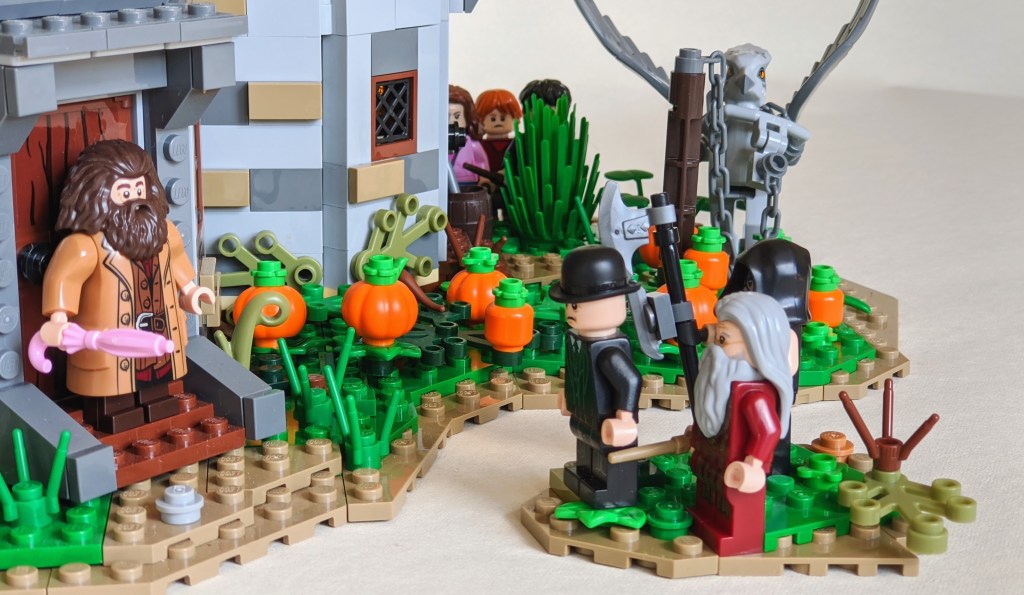
For my Hagrid’s Hut display, I created one larger islands for the building itself and a small island with Cornelius Fudge, Walden Macnair (the executioner) and Albus Dumbledore coming for the execution of Buckbeak.
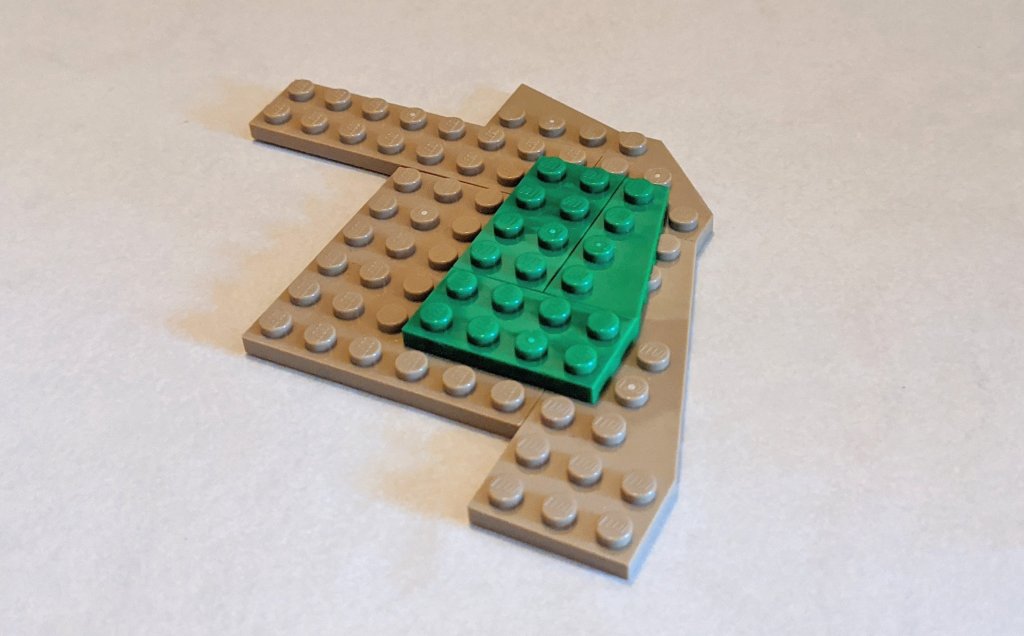
I usually start with a layer of earthy colours, for example dark Ryan or reddish brown, followed by another layer or two of green.
Once the layers are completed, you can add detail such as plants or small patches of dark green, olive green, and finally scatter small round plates in earthy or grey nuances.

Personally I think you can overdo the ground cover, if adding so many plants it becomes the focus and therefore actually detracts from the main model.
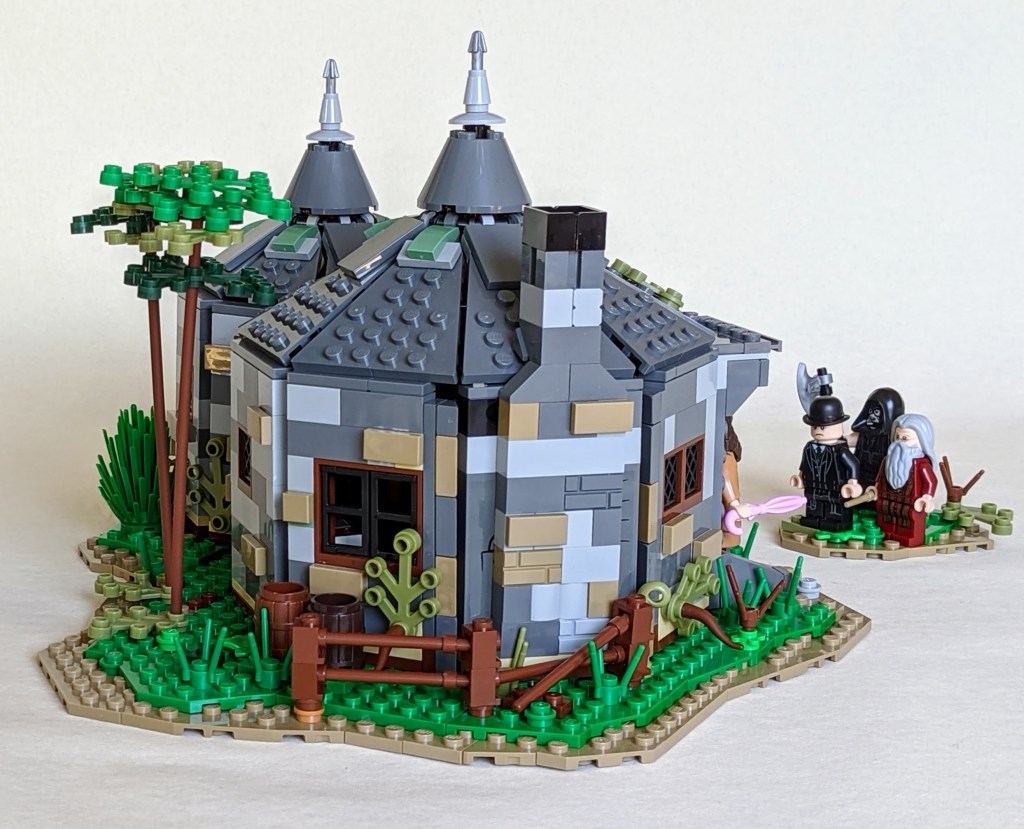
Trees can be done in many ways and is probably worth a separate post. For this model I wanted something that added height in the back without being too heavy and dominating. I therefore opted for a simple solution, with long rigid reddish brown hoses used as sleek trunks attaching leaves in various green nuances towards the top.

To supplement the natural landscape, consider adding mini-models, such as benches, lampposts, or in my example a (broken) fence and a few wooden barrels.
Enough said, here is the completed model.


With that, I’ll finish this post. I hope you have enjoyed it. I’m looking forward to put this on display some time in real life. Before that, I may add a separate island for Harry, Ron and Hermione hiding behind some bushes. I just need some more plates first.
Till then, Build the Magic!
